Save This Recipe
You know those evenings when your sweet tooth just won’t take “maybe later” for an answer? There you are, kitchen lights still glowing after dinner, wishing you had something warm, chocolatey, and utterly comforting to end the day right. That used to be my story: poking around the pantry, sighing about the lack of dessert—until I stumbled upon the wonder that is Southern Chocolate Cobbler. Y’all, this really is a hug in a pan. It’s the kind of dessert that wraps you up like your favorite blanket, turns a regular night into a celebration, and shows up in less than an hour, gooey and bubbling, every time you need a pick-me-up.
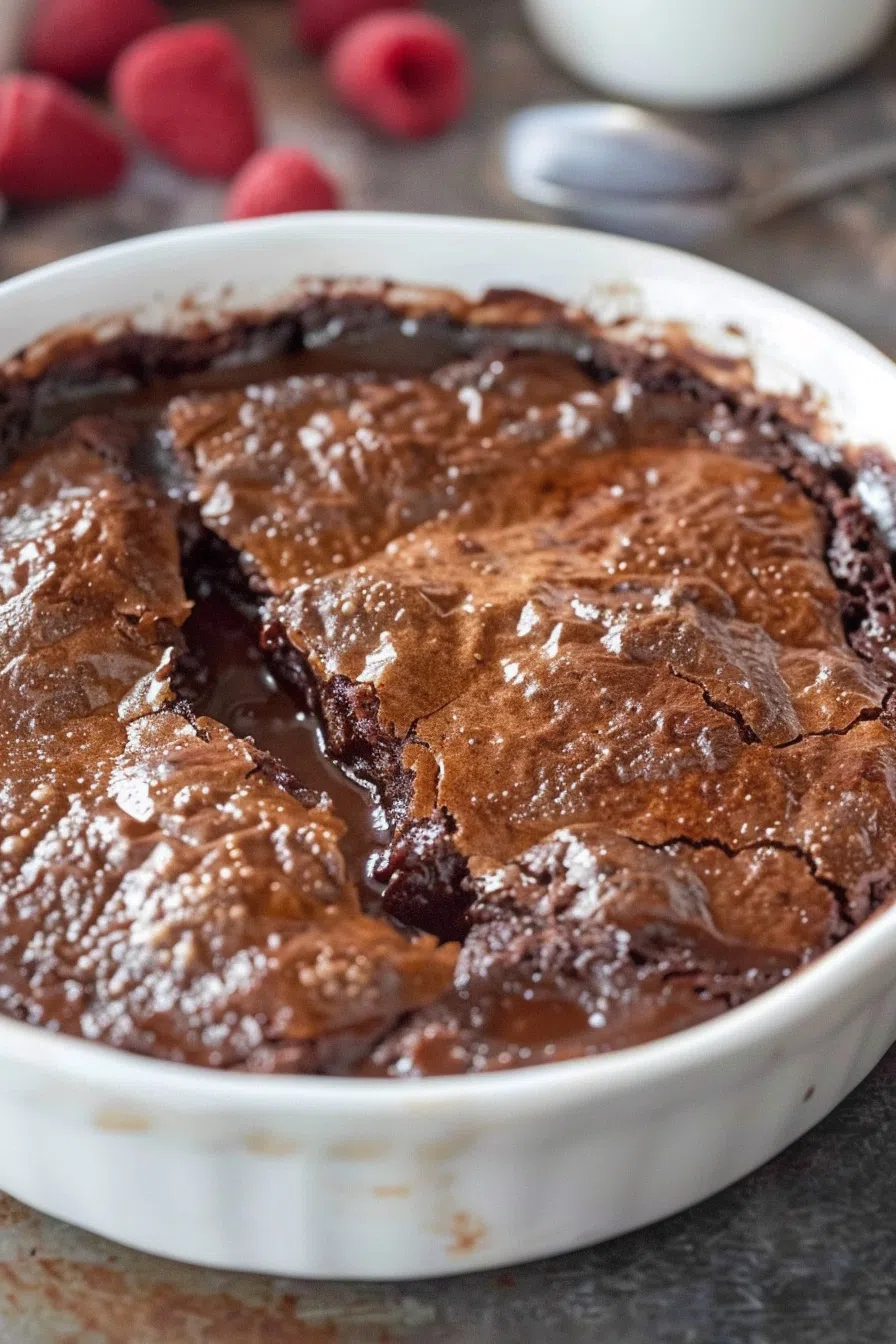
I’ve whipped this up on stormy nights, when my family comes tumbling in from soccer practice, and more than once after a midnight Netflix binge (let’s just say chocolate cravings don’t care about bedtime). The best part? No fancy equipment or grocery store dash required. If you’ve got a baking dish, two bowls, and a half-hidden whisk, you’re well on your way. And this is my favorite little party trick: while it bakes, it makes two layers all on its own—a tender, cakey top, and underneath, the most luscious chocolate sauce you ever scooped from a pan. (The first time you dig that spoon deep and hit molten chocolate? PURE magic.)
Why You’ll Love It
- Self-saucing wonder: fudgy cake on top, silky chocolate sauce underneath—no extra tricks required
- Uses regular pantry ingredients—no last-minute store runs or weird specialty items
- Flexible with swaps (plant-based, gluten-sensitive, or just low on milk? It totally works!)
- Zero-fuss—the whole thing is stirred up by hand, then the oven does the magic
- Ready in an hour (including the hardest part, waiting for it to cool enough to eat!)
- Fun to customize—dip in spoons of nut butter, berries, or sprinkle in cinnamon for your own twist
- A total crowd-pleaser (nobody has ever said no to seconds around here, and my teenagers can be picky!)
Ingredient Notes (with Friendly Tips)
- Butter: I almost always reach for unsalted (because that’s what bulk Costco life brings), but honestly, salted works great too—just skip adding extra salt. Plant-based butters melt beautifully here if you need dairy-free. If all you’ve got is stick margarine, well, it’s chocolate cobbler—nobody will complain.
- Sugar: Just plain white granulated sugar, for both the batter and topping. If you want things a touch less sweet you can shave off a tablespoon or so—this recipe is gloriously forgiving and chocolate-forward no matter what.
- Cocoa Powder: Regular ol’ unsweetened cocoa powder is the ticket (Dutch process if you have it and want more “dark chocolate” vibes). Steer clear of hot cocoa mix—it’s not the same thing.
- Flour: Traditional is self-rising (but who ever remembers to buy that?). I just mix up my own: for every 2 cups of all-purpose, add 2 teaspoons baking powder and a generous pinch of salt. Nobody’s ever guessed the shortcut.
- Milk: Whole milk makes it super luscious, but anything from 2% to oat to almond does the trick. Plant-based milks make for a slightly lighter texture, still 💯 craveable.
- Vanilla: Pure vanilla extract brings warmth and coziness. Some days, I’ll sneak in just a drop of almond extract for a lovely surprise.
- Boiling Water: This is the mystery move—pouring boiling water over the cocoa “snow” on top. Don’t skip it! That’s what creates the decadent, spoonable sauce at the bottom.
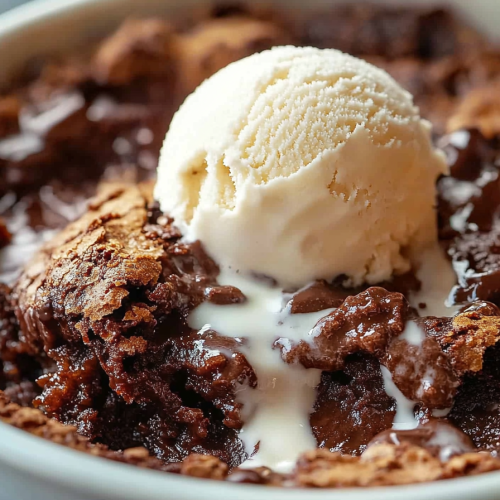
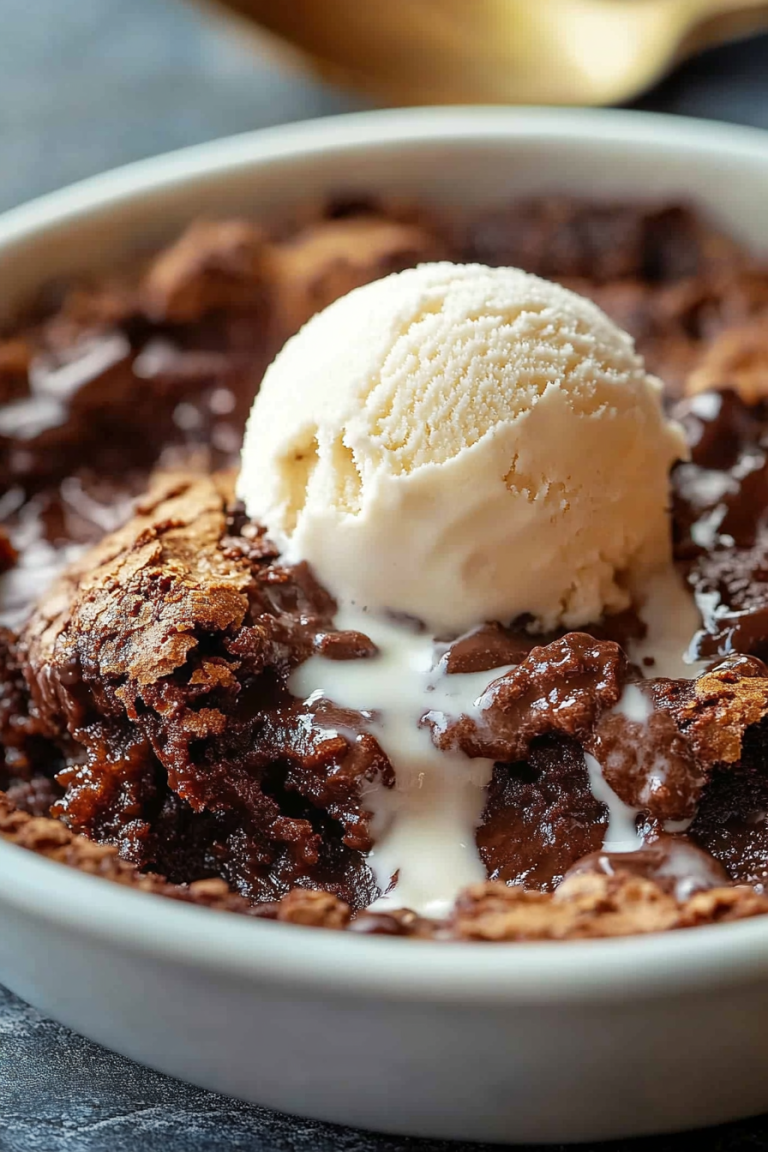
- Ice Cream or Whipped Cream: Not strictly required, but at my place it’s basically the law. Classic vanilla for me, but my youngest swears by peanut butter or coffee ice cream. (If you make your own whipped cream, I bow to you.)
And truly, don’t let anyone tell you not to throw in a handful of chocolate chips or a scoop of walnuts. One rainy Saturday I had a little cinnamon left from French toast and—wow, did the house ever smell wonderful! This cobbler is the most low-pressure, “it’ll work!” kind of dessert around.
Directions
- Preheat your oven to 350°F. Grab a 9×13-inch baking dish and toss in a stick (1/2 cup) of butter. Pop it in the oven to melt while things heat up. If it gets a little golden around the edges, all the better! Just don’t wander off—burnt butter is another story (ask me how I know).
- Batter time: In a medium bowl, whisk together 1 cup sugar, 3 tablespoons cocoa (unsweetened), 2 cups self-rising flour (or the all-purpose plus baking powder DIY), 1 cup milk, and 2 teaspoons vanilla. Don’t worry about a lump or two—the oven will smooth it all out.
- Pour and don’t stir! Take your hot dish out, swirl the butter to cover the bottom and pour in the batter. Resist every urge to mix—just tilt if you need to spread it a little.
- The snow magic: Mix 1/2 cup sugar and 1/2 cup cocoa in a small bowl and sprinkle it evenly over the whole surface of the batter. Yes, it’ll look like too much, but this is where the magic really starts.
- Now for the weird part—the boiling water: Carefully pour 1 1/2 to 2 cups boiling water (fresh off the stove) evenly over the top. DO NOT STIR. Trust, trust, trust.
- Bake for 35-40 minutes, or until the top is set and springs back lightly. The sauce will bubble up around the edges and underneath—peek if you like, but it’s supposed to look a little wobbly and “wet” underneath.
- Wait (the hardest part): Let it rest at least 15 minutes. The sauce thickens as it cools and you’ll save your mouth from volcanic chocolate injuries (learned that one the hard way, friends!).
- Scoop and serve, preferably with a big scoop of something cold and creamy. Around here, nobody blinks if you eat it straight from the pan. That’s real-life dessert happiness.
Variations
- Peanut Butter Swirl: Drop small spoonfuls of peanut butter atop the batter before the “snow,” drag a knife through for a marbled effect. It’s like a big chocolate peanut butter cup, and yes, it’s as good as it sounds.
- Mocha Magic: Stir a teaspoon of espresso powder into the cocoa topping for a grown-up chocolate-coffee kick—great for adult gatherings or late-night snacks.
- Berry Surprise: Scatter in a handful of raspberries, blackberries, or even chopped cherries. They get all jammy and tart under the chocolate lava—so pretty and delicious for summer nights.
- Mint Chocolate: Toss in a half teaspoon of peppermint extract (not too much!) to the batter, and sprinkle with chopped Andes mints after baking for those Thin Mint cookie vibes.
- Warm Spice: Sprinkle a touch of cinnamon or a dash of cayenne into the batter for a gently spiced, “hot chocolate by the fire” effect. Perfect on a chilly winter evening.
Storage & Reheating Tips
Leftover cobbler isn’t exactly common here, but it does happen sometimes (especially if I make a double batch for the neighbors). Let the pan cool, then cover tightly or transfer leftovers to a lidded container and pop in the fridge. It’ll stay good for about three days, though I’ve never seen it last past 24 hours with teens lurking in my kitchen.
To reheat a portion, scoop some into a microwave-safe bowl and warm for 20 to 30 seconds—just enough to wake up that gooey chocolate sauce again. If you’re reheating the whole dish, cover it with foil and slide into a 300°F oven for about 15 minutes. And get this: you can even freeze individual portions for up to two months (dessert “emergency kit!”). Thaw and reheat as needed—the sauce thickens a tiny bit, but the comfort factor definitely doesn’t suffer.
Conclusion
If there’s one old-school, self-saucing dessert that’s turned even the “blah” weeknights around here into cozy, chocolate-covered events—it’s this cobbler. Somehow, when dessert’s bubbling on the kitchen counter, everyone lingers just a little longer, stories spill out, and laughter fills the room. It’s the sort of thing you make once and then crave whenever you need a little taste of comfort (or want to surprise the folks you love). Give it a go, and I hope your family falls head-over-heels for it like mine did. And if you put your own twist on things—maybe extra berries, a hint of cinnamon, or a secret nut butter stash?—tell me all about it in the comments. Sharing is the best part of any good recipe, after all.
FAQ
Do I really need to use boiling water, or can I use hot tap water?
You absolutely need boiling water! This is what creates the magic sauce layer underneath. Hot tap water won’t be hot enough to properly dissolve the sugar and cocoa mixture on top, and you’ll end up with a grainy texture instead of that smooth, fudgy sauce. I keep a kettle handy or just boil water in a saucepan while I’m mixing the batter.
I poured the boiling water over the top and it looks like a total mess – did I ruin it?
Not at all! It’s supposed to look like a complete disaster at this point – watery, messy, and nothing like what you’d expect a dessert to look like going into the oven. This is exactly how it should appear. The magic happens during baking when the batter rises to the top and the chocolate sauce forms underneath. Trust the process!
How do I know when it’s actually done? The top looks set but I can see liquid underneath.
That liquid you see is the chocolate sauce, and it’s supposed to be there! The cobbler is done when the top is set and springs back lightly when touched, even if you can see the sauce bubbling around the edges. The top should look like a brownie or cake layer. Don’t worry about the sauce looking thin – it will thicken as it cools.
Can I make this ahead of time for a dinner party?
While it’s absolutely best served warm and fresh, you can make it a few hours ahead and reheat before serving. Cover it with foil and warm in a 300°F oven for about 15 minutes. The sauce may thicken slightly when cooled and reheated, but it’s still delicious. I’d avoid making it more than a day ahead though – fresh is definitely best for that perfect gooey texture.
My family has different chocolate preferences – can I adjust the sweetness?
Absolutely! If you prefer less sweet desserts, you can reduce the sugar in the topping mixture by up to 1/4 cup. For more intense chocolate flavor, add an extra tablespoon of cocoa powder to either the batter or topping (or both). You can also stir in a handful of dark chocolate chips to the batter for extra richness, or use a mix of cocoa powders if you have both regular and dark Dutch-process on hand.

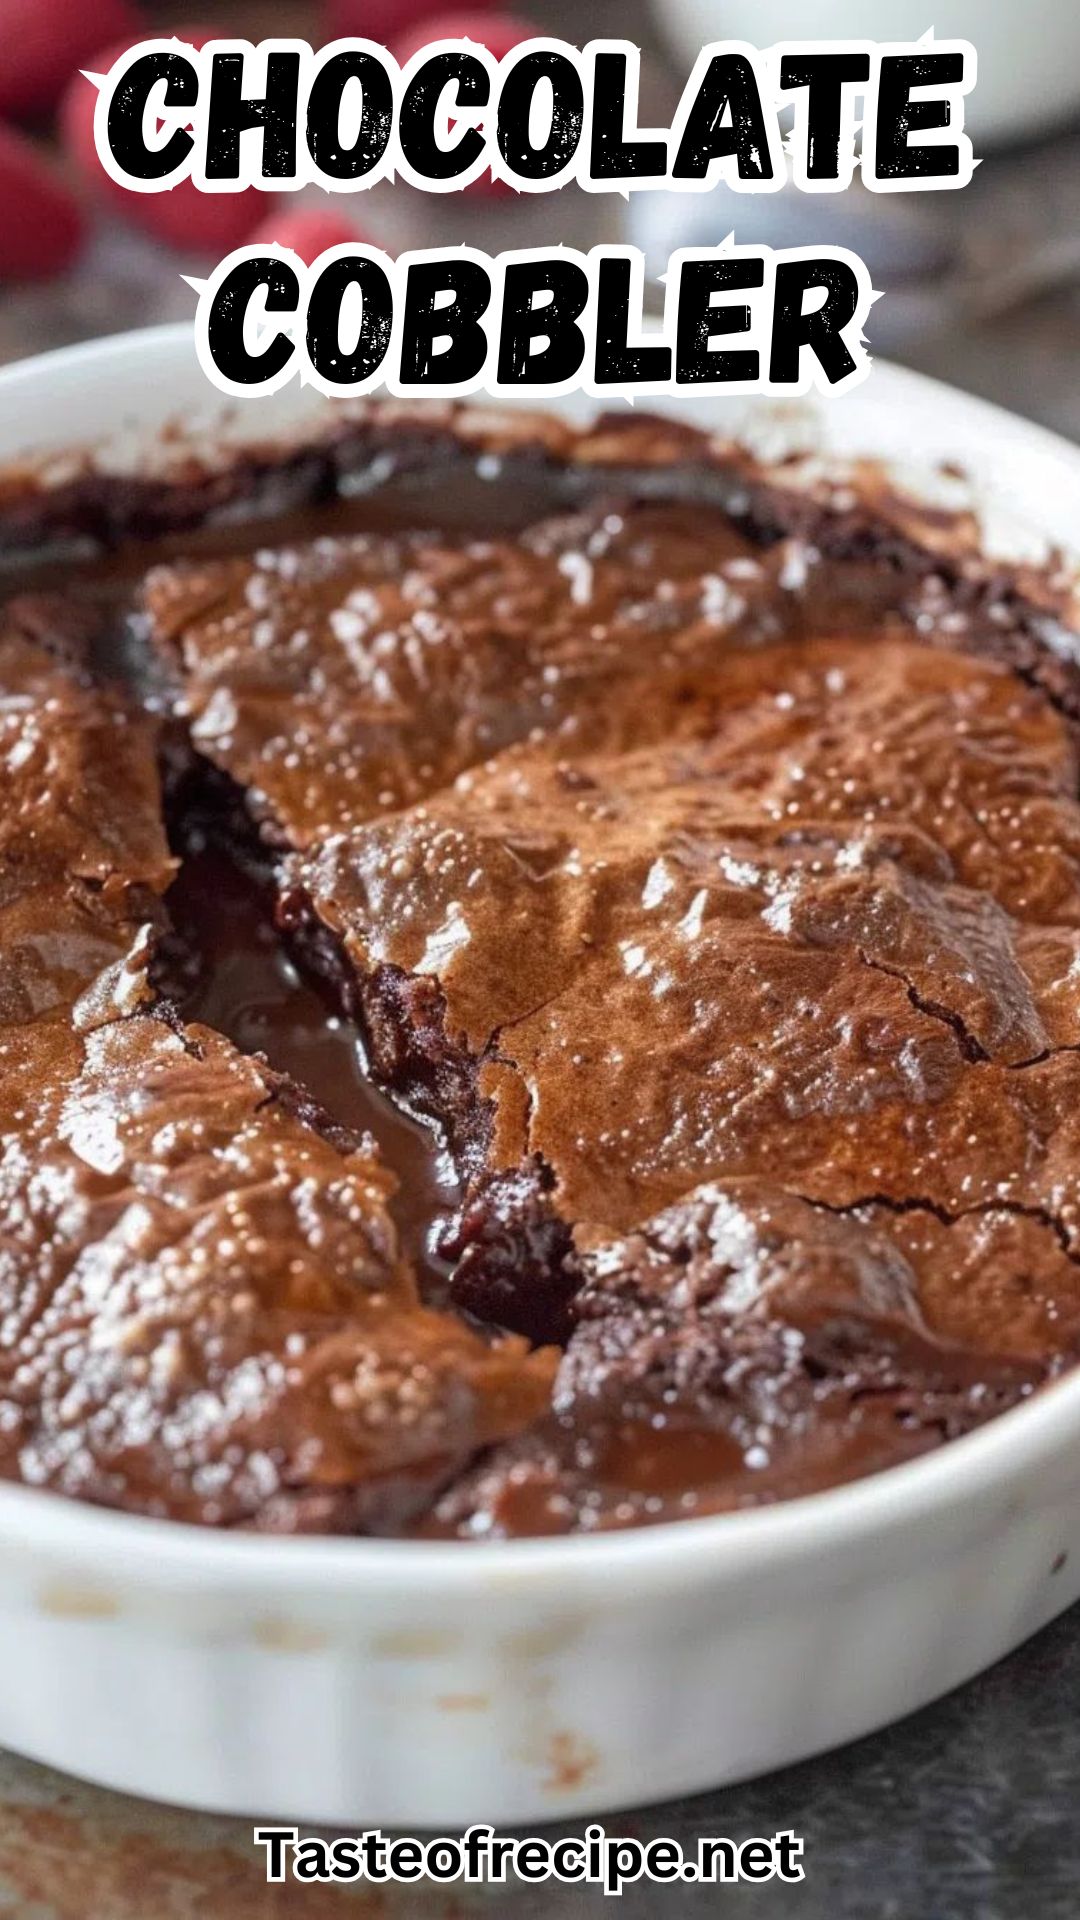
Chocolate Cobbler
Ingredients
- 1/2 cup butter 113 g
- 1 1/2 cups granulated sugar 297 g
- 3 tbsp unsweetened cocoa powder 16 g
- 2 cups self-rising flour 226 g
- 1 cup whole milk 227 g
- 2 tsp vanilla extract 9 g
- 2 cups granulated sugar 396 g, for topping
- 1/2 cup unsweetened cocoa powder 42 g, for topping
- 3 cups boiling water 681 g, for topping
- as needed vanilla ice cream for serving, optional but recommended
Instructions
- Preheat your oven to 350°F (175°C). Place the butter into a 9x13-inch baking dish and set it in the oven to melt while the oven heats. Once the butter is melted, carefully remove the dish and set it aside.
- In a large bowl, combine 1 1/2 cups granulated sugar, 3 tablespoons unsweetened cocoa powder, 2 cups self-rising flour, 1 cup whole milk, and 2 teaspoons vanilla extract. Stir until the mixture is smooth and well combined.
- Spoon the batter over the melted butter in the baking dish. DO NOT STIR—the batter should float on top of the butter.
- In a separate bowl, mix together 2 cups granulated sugar and 1/2 cup unsweetened cocoa powder. Sprinkle this mixture evenly over the batter.
- Slowly pour 3 cups of boiling water over the sugar and cocoa topping. Again, DO NOT STIR—this is crucial for creating the cobbler’s signature sauce.
- Place the baking dish in the oven and bake for 35-40 minutes, or until the top is set and has a slight crust. The bottom will still be a little loose and saucy.
- Let the cobbler cool for 15-20 minutes to allow the sauce to thicken slightly before serving. Serve warm with vanilla ice cream if desired.


