Save This Recipe
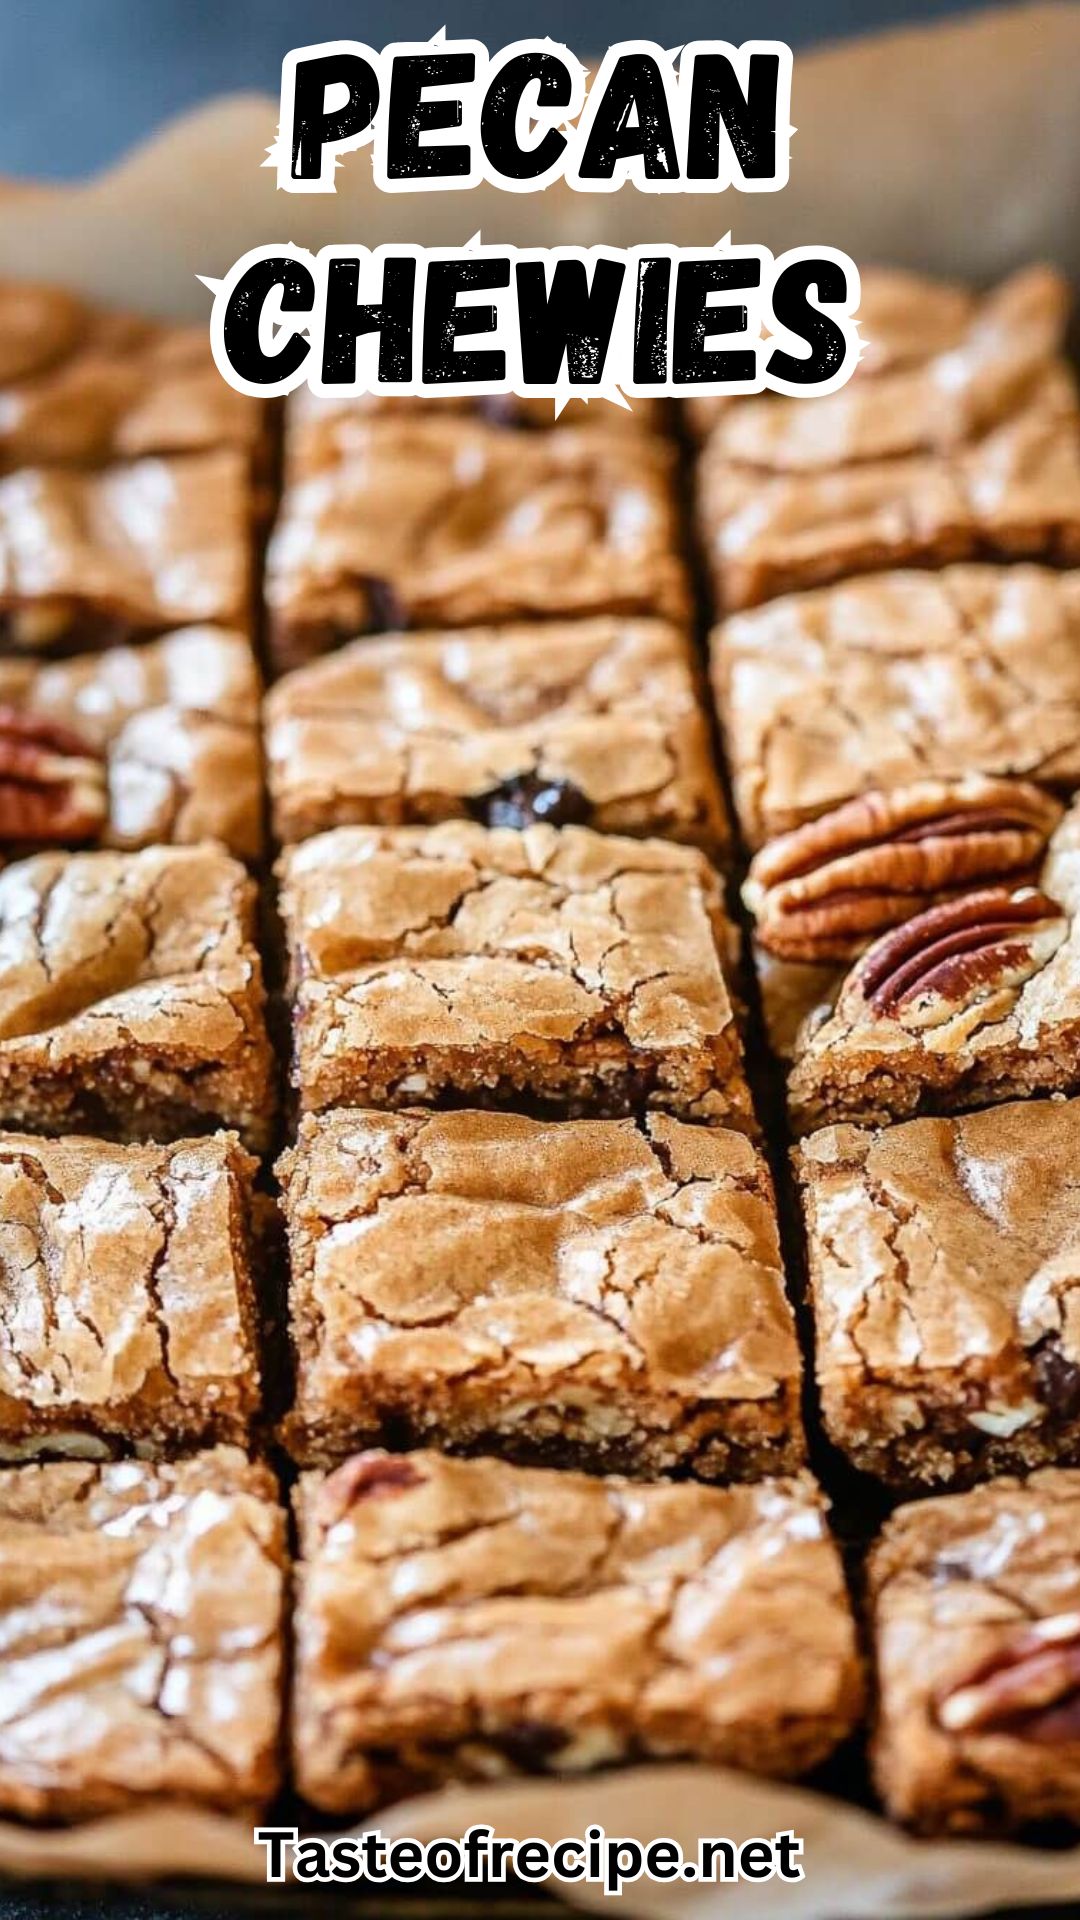
Picture this: it’s one of those brisk, maybe a little gloomy, afternoons, the kind where you can see your breath outside and your coffee just won’t stay hot. Honestly, all you want is something a little sweet and a little comforting to nibble while you check off your to-do list—or, let’s be honest, maybe do a little procrastinating, too. That’s when Pecan Chewies come to the rescue. These are old-fashioned, soft-and-gooey bars with just the right hit of buttery richness and toasted pecan crunch. They’re not fussy—think “hooray, no stand mixer required!”—and they fill your kitchen with that dreamy, caramel-brown sugar smell that makes everyone ask, “What’s baking?”
Whether you’re a multitasker wrangling work-from-home deadlines (with a kiddo or two swirling around), or just someone who firmly believes in the magical, healing properties of a homemade treat, these bars are about to be your new go-to. You only need one big bowl, some cozy pantry staples, and maybe a spare hour—most of which is just waiting for them to cool, which is, honestly, the hardest part. The whole process feels almost as restorative as the first bite.
Why You’ll Love It
- All the cozy, nostalgic flavors of a blondie, but with the star power of toasty pecans
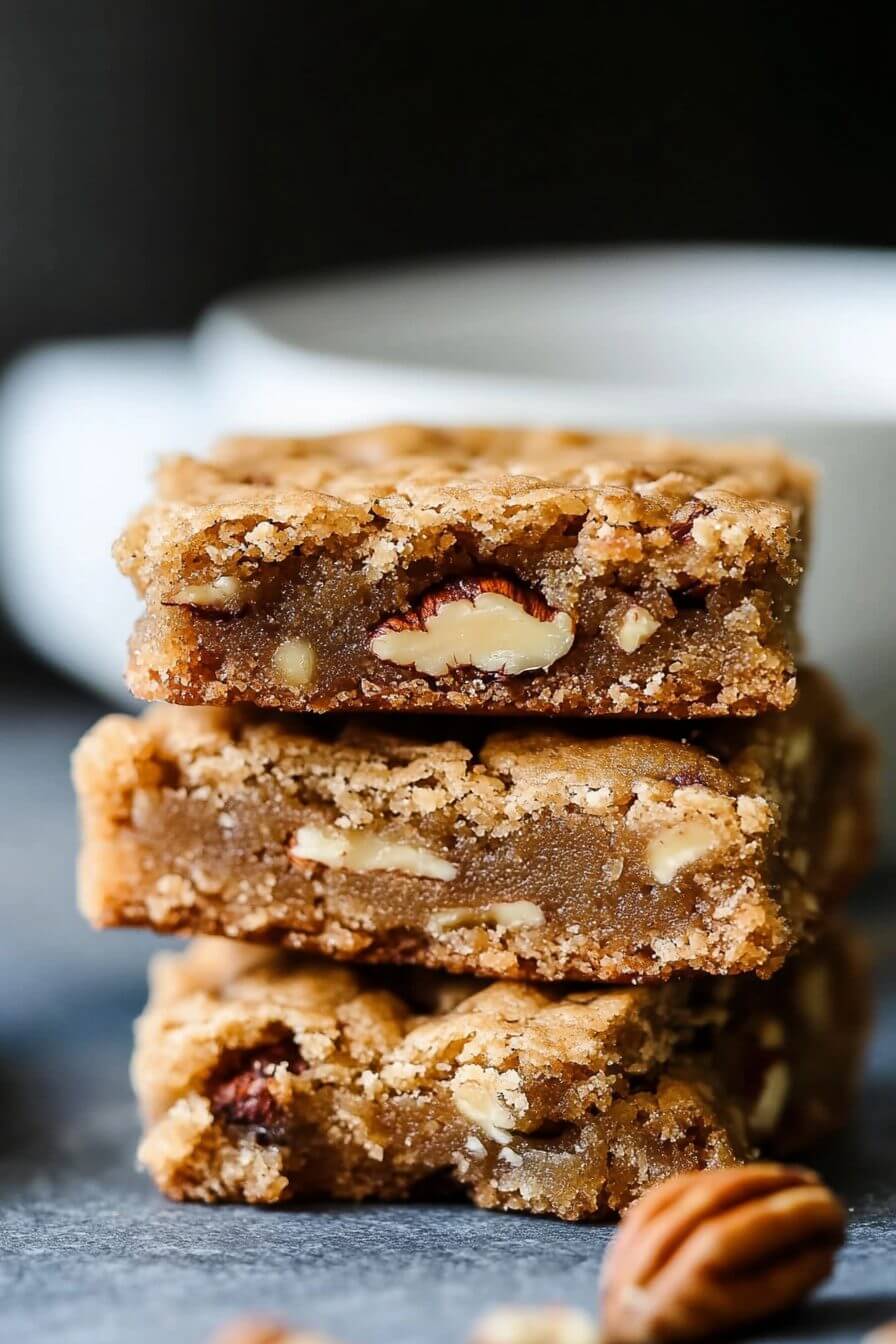
- Dreamy, chewy center with caramel-y edges that’ll have everyone reaching for seconds
- One-bowl magic—no fancy gadgets needed and hardly any cleanup (a real win on a busy weeknight, right?)
- Pecans add just the right crunch (but hey, swap them out if you’re feeling adventurous—totally fair game)
- Perfect for potlucks, lunch boxes, bake sales, or—let’s be honest—sneaking from the fridge at 10pm while nobody’s watching
Ingredient Notes & Swaps
Here’s your shopping (or, more likely, pantry-raiding) list. Don’t stress if you need to swap a thing or two—these bars are flexible and, honestly, a little improvisation just makes them more “yours.”
- Butter: Unsalted is usually what I reach for so I can control the salt, but if all you’ve got is salted, just skip most of the added salt later. And really, I use what’s on sale or what’s in the freezer—no shame in that.
- White & Brown Sugar: The combo gives these that classic, deep caramel flavor—totally irresistible. If you have dark brown sugar, it’s even richer, but light brown works too. The key is using both for that flavor depth.
- Eggs: Room temp is what the pros say, but I’ll admit it: I forget every time and use them cold straight from the fridge. Never had a disaster yet!
- Flour: All-purpose is my standard. If you need these gluten-free, use a cup-for-cup gluten-free blend—several friends swear by it!
- Pecans: Toasting them for a few minutes in a hot oven makes a world of difference, but if you’re short on time, just toss them in as-is. Other nuts (walnuts, almonds), or even things like chopped pretzels for a salty crunch, totally work, too.
- Vanilla, Baking Powder, Salt: Vanilla brings warmth, baking powder makes sure you get a soft lift, and salt balances it all. Real vanilla is a treat, but honestly, classic extract does just fine for bars like this. (Save the fancy stuff for custard!)
Directions
- Preheat your oven to 350°F (175°C). Grab your favorite 9×13-inch pan—my grandma’s old Pyrex gives them extra sentimental power, but anything sturdy works. For less cleanup, line it with parchment (leave some overhang for easy lifting!) and grease the corners well. Peeling stuck-on bars off the sides is not the fun part—trust me.
- Melt your butter. Easiest way? Zap it in the microwave in short bursts until just melted, or use a small pan on the stove. Don’t let it simmer or splatter. If it’s steaming hot, let it cool for a couple minutes—you don’t want cooked eggs (unless you’re into scrambled egg bars…which, please don’t be!).
- Mix the wet stuff. Pour that warm, melted butter into a big mixing bowl. Add in both sugars and whisk until you have a glossy, thick sludge—you’ll know it when you see it! Stir in your vanilla. Pause and inhale: smells heavenly already.
- Whisk in the eggs. Add one egg at a time, whisking after each till fully combined. (Pro tip for the shell-averse: crack them into a small bowl first, then check for sneaky bits before adding to the main bowl. Worth the extra dirty dish if you ask me.)
- Stir together your dry ingredients. If you want to be proper, whisk your flour with baking powder and salt in a separate bowl to break up lumps and start the magic. Or, if you’re feeling wild, add them right onto your wet mixture and give a quick, gentle swirl with a fork or whisk—no judgment here.
- Fold the batter together. Switch to a sturdy spatula or big wooden spoon and gently fold until there are no powdery streaks left. Stop as soon as things are mostly smooth. Overmixing = tough bars, and we want chewy, not rubbery.
- Add the pecans. In they go! If they’re still warm from toasting, that nutty aroma will fill the kitchen and probably wake up any snackers in the house. Stir to distribute evenly.
- Scrape into the pan and bake. The batter will be thick—don’t worry, it’s supposed to be. Use your spatula (or even dampen your hands a tad) to press it into an even layer in the pan, making sure to get into all the corners. Pop it in the oven for 30–35 minutes. You’re looking for golden edges and a center that’s set, but still gives a little if you nudge it. Use a tester—when you pull it from the middle, a few moist crumbs should cling (raw = a little longer, dry = pull ‘em out quick!). If they sink in the middle a bit, don’t panic—that’s where the chewy magic happens.
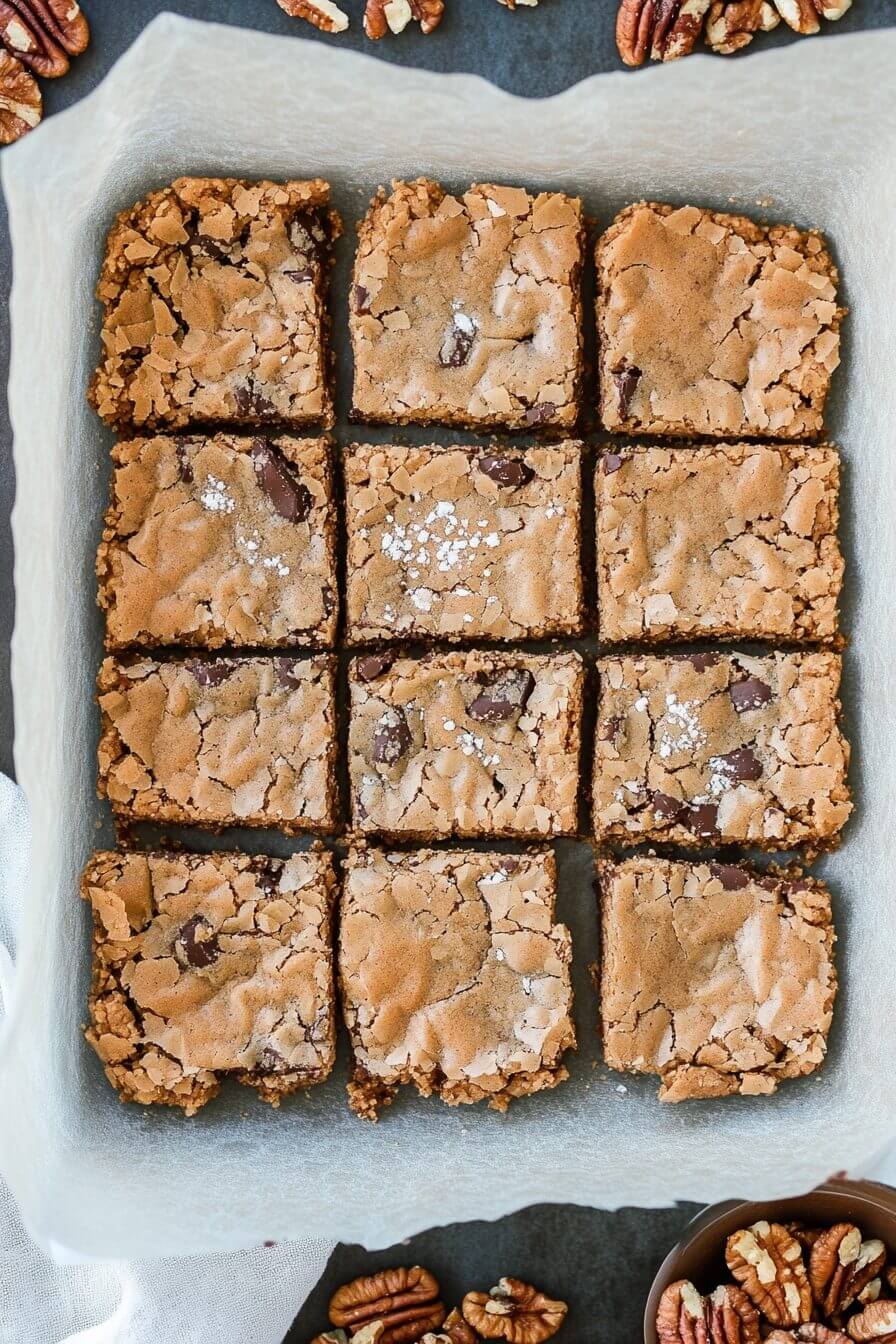
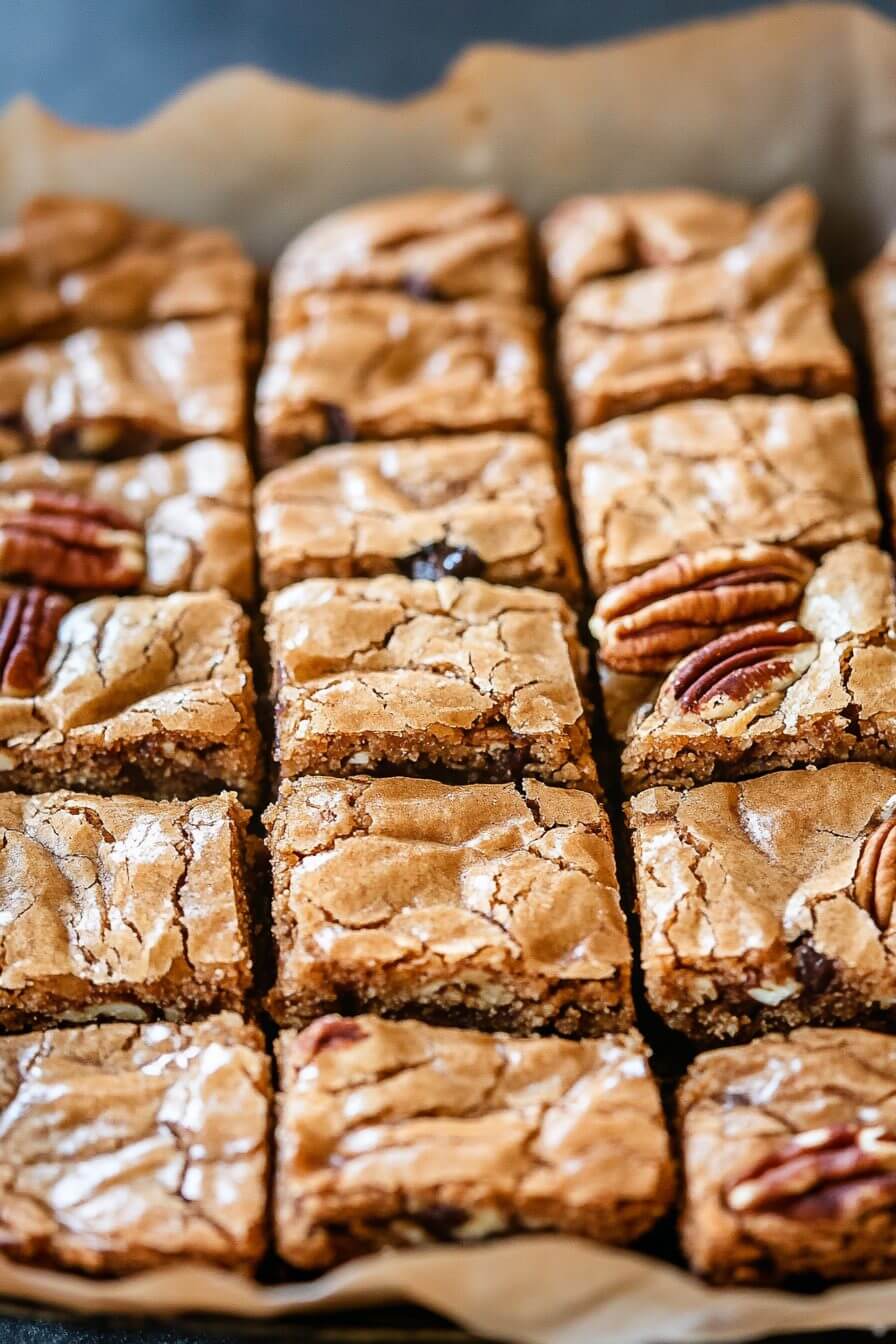
- Cool before slicing (the hardest part). Let them rest in the pan at least 15–20 minutes (don’t skip this step!), or chill in the fridge for quick, tidy cutting. If your slices get a tad messy, call them “rustic”—the uneven edges are the baker’s treat, after all. Warm from the pan with vanilla ice cream? Pure bliss.
Variations
- Chocolate Chip Pecan Chewies: Stir in a good handful (about a ½ cup, give or take) of semisweet chocolate chips along with the pecans. Suddenly you’re in blondie territory, and everyone will swoon.
- Coconut Pecan Chewies: Throw in ½ cup of flaked coconut (I like unsweetened but use what you’ve got) with the pecans for a toasty, chewy twist. It just makes them a smidge more decadent.
- Maple Pecan Chewies: Swap out ¼ cup of the sugar for real maple syrup and add a dash of maple extract for pure autumn-in-a-bar. Even my maple-skeptic husband goes wild for these.
- Coffee Break: Dissolve a teaspoon of instant espresso in the melted butter. It’s that grownup, coffeehouse vibe and just pairs beautifully with the rich, toasty nuts.
- Spiced Chewies: Stir in ½ teaspoon cinnamon (or cardamom for something surprising!) into the flour mixture. It gives the bars a cozy, warm hug.
Storage & Reheating Tips
I have to warn you: these bars are the kind of treat that’s “just one more bite” every time you walk by the kitchen. But—and I promise—they keep so well. Cool them completely and pop in an airtight container at room temp for up to three days (if they last that long). They actually get chewier and more irresistible by day two.
If you like your bars really dense and fudge-like (calling all fridge snackers!), store them in the refrigerator for up to a week. Want to have a secret stash? Wrap individual pieces and freeze in a zip bag for up to two months. To thaw, just let them sit at room temp a few minutes, or microwave for a dozen seconds to bring back that oven-fresh gooeyness.
FAQs
Can I use salted butter? Yes, totally! Just reduce or skip the extra salt in the recipe. I find a hint of saltiness next to all that sweetness actually makes everything pop.
My bars stuck to the pan. Help? We’ve all been there! Next time, line the pan with parchment and really get into those corners (use a little extra spray or butter, too). You can even leave parchment “handles” for lifting the whole slab out like a pro—it makes such a difference.
Pecans aren’t my thing—what else works? Swap for any nut you like, or even crunchy pretzels for a salty-sweet kick. I’ve even seen folks use chopped dried fruit (cranberries, apricots) or white chocolate chips for a fun twist. It’s a choose-your-own-adventure dessert.
How do I make a smaller or larger batch? Want half? Use an 8×8-inch pan, and check for doneness at around 23 minutes. For a crowd, double the recipe (but bake in two pans to avoid gooey raw middles). Share with friends, or hoard for yourself—I won’t judge!
Do I need a mixer? Absolutely not—just a whisk and spatula. Consider this your built-in arm workout for the day. (My stand mixer gets jealous from the cupboard, but it’s a win for easy cleanup.)
Conclusion
So there you have it… a batch of old-fashioned, oven-warm Pecan Chewies that taste like a cozy afternoon wrapped in a blanket. They’re the kind of classic, craveable treat you’ll find yourself making again and again—especially when you want to bake, but don’t want to stress. Don’t hesitate to put your own spin on them, or drop a comment if you’ve got a wild idea (or just want to brag about your batch—I’m here for it!). However you remix these bars, I hope they bring a little extra comfort to your day. Happy baking, friend, and happy snacking!
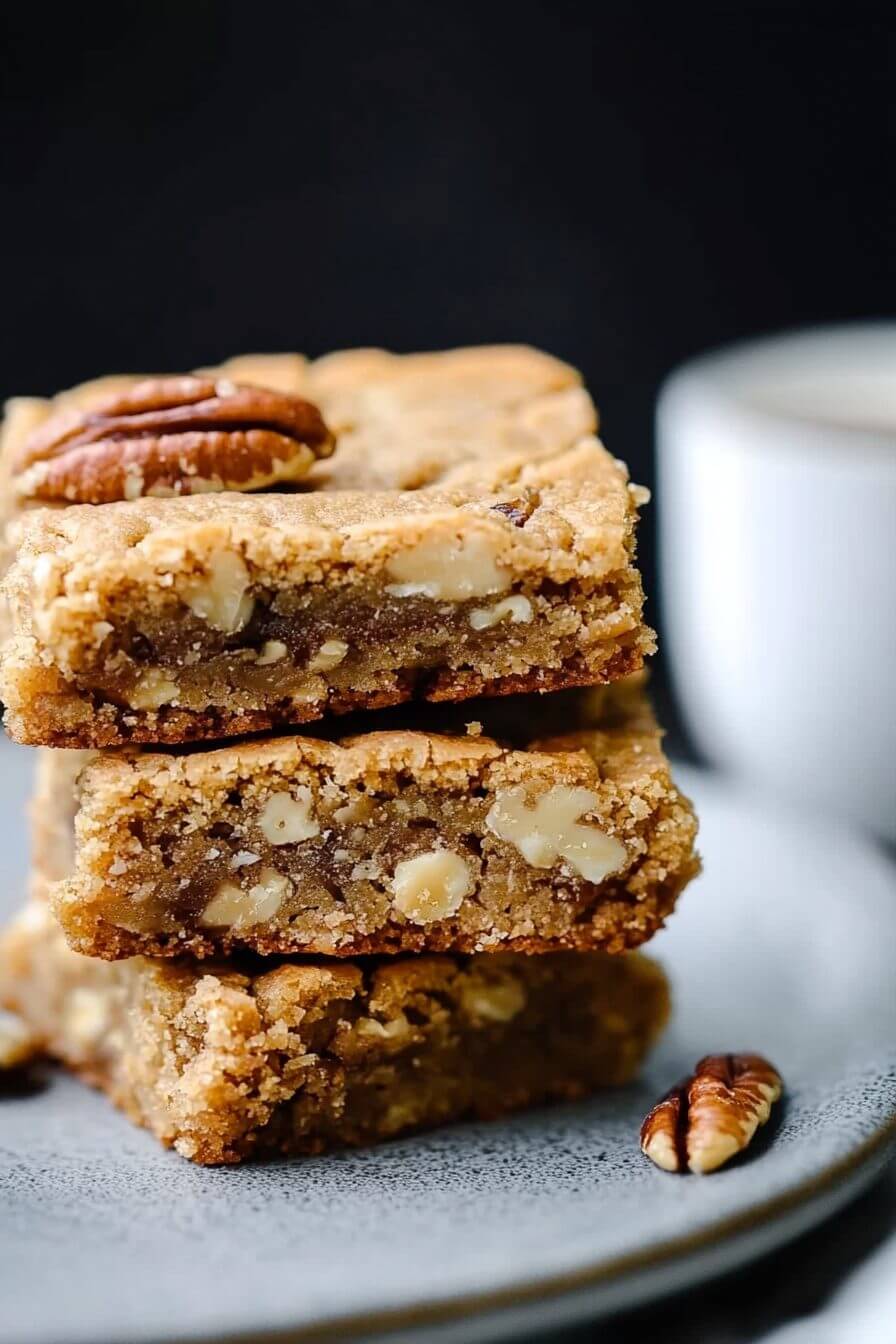
Pecan Chewies
Ingredients
- 1 cup butter (2 sticks)
- 1 cup white sugar
- 1 cup brown sugar
- 3 teaspoons vanilla
- 2 eggs
- 2 cups all-purpose flour
- 1 teaspoon baking powder
- 1 teaspoon salt
- 1 cup pecans chopped
Instructions
- Preheat oven to 350°F (175°C). Grease a 9×13 inch baking dish with butter or non-stick spray.
- Melt butter in a large microwave-safe bowl or on the stovetop over low heat until fully melted, avoiding boiling.
- Add white sugar and brown sugar to the melted butter and beat until smooth. Mix in vanilla extract, then add eggs one at a time, incorporating each fully.
- In a separate bowl, sift together flour, baking powder, and salt.
- Gradually mix the dry ingredients into the wet ingredients until just combined, then fold in chopped pecans.
- Spread batter evenly in the prepared baking dish. Bake for 30-35 minutes or until a toothpick inserted in the center comes out clean. Edges should be golden, with a firm but slightly soft center.
- Allow bars to cool completely in the pan for easier cutting. Slice into squares or rectangles and serve.

