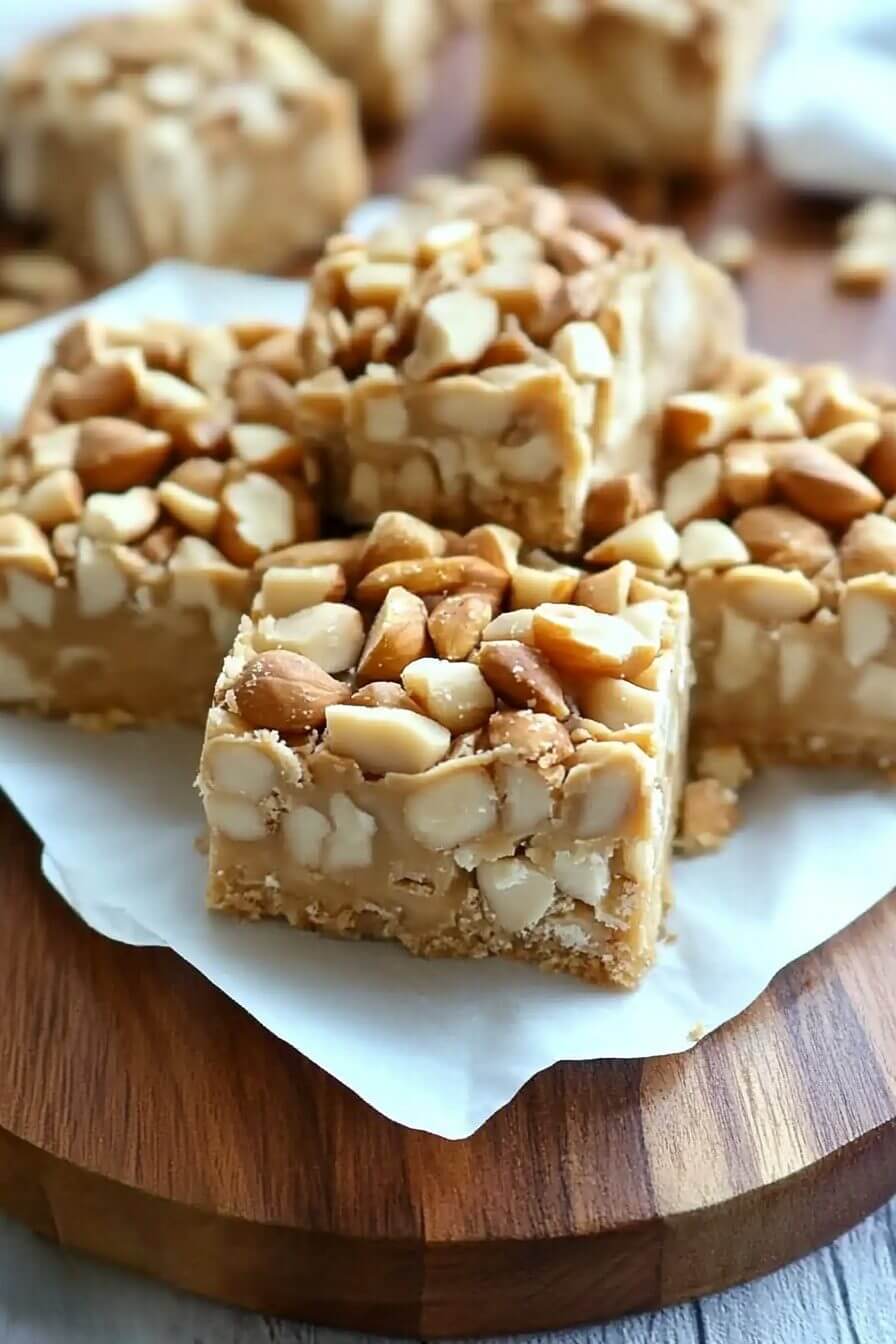
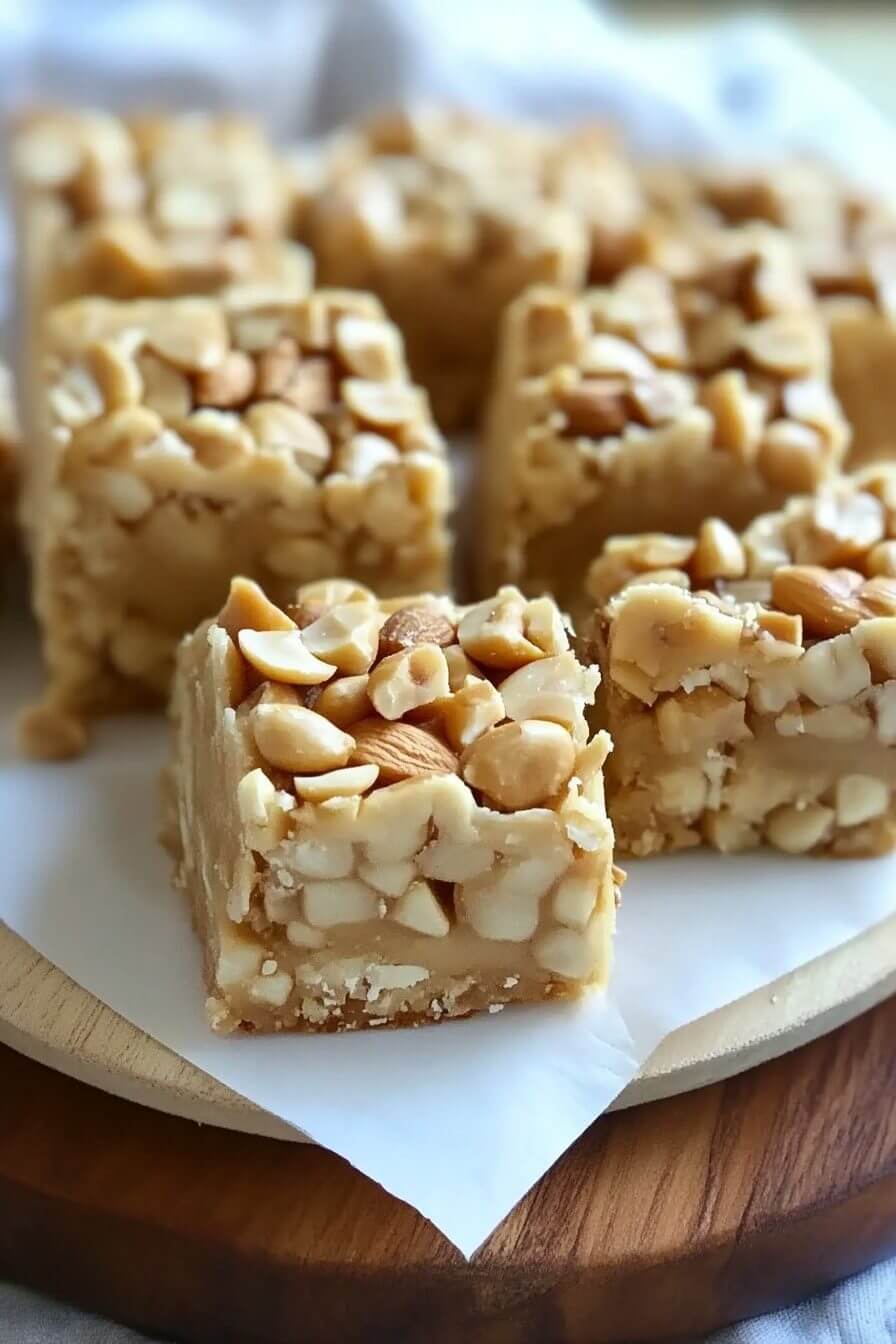
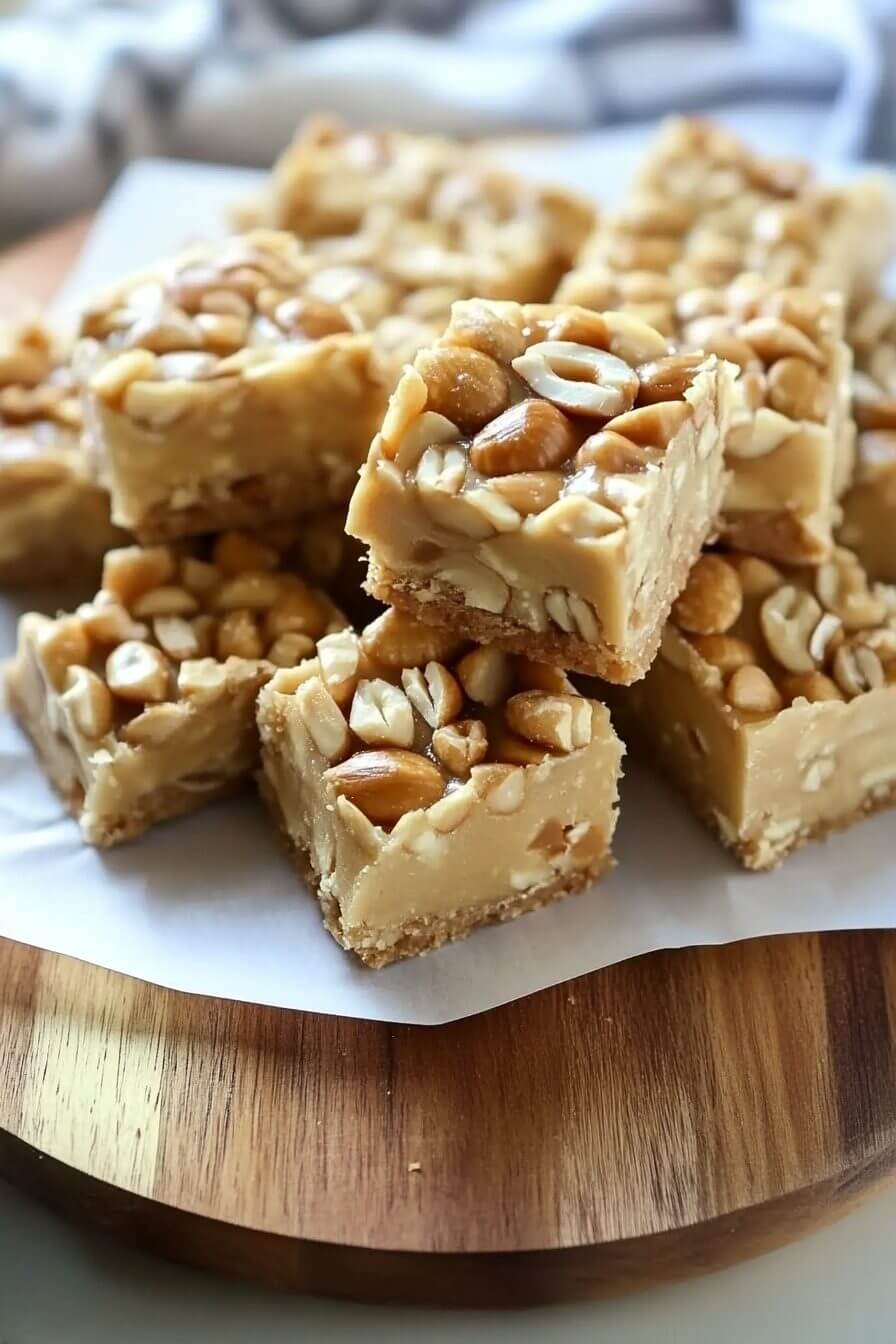
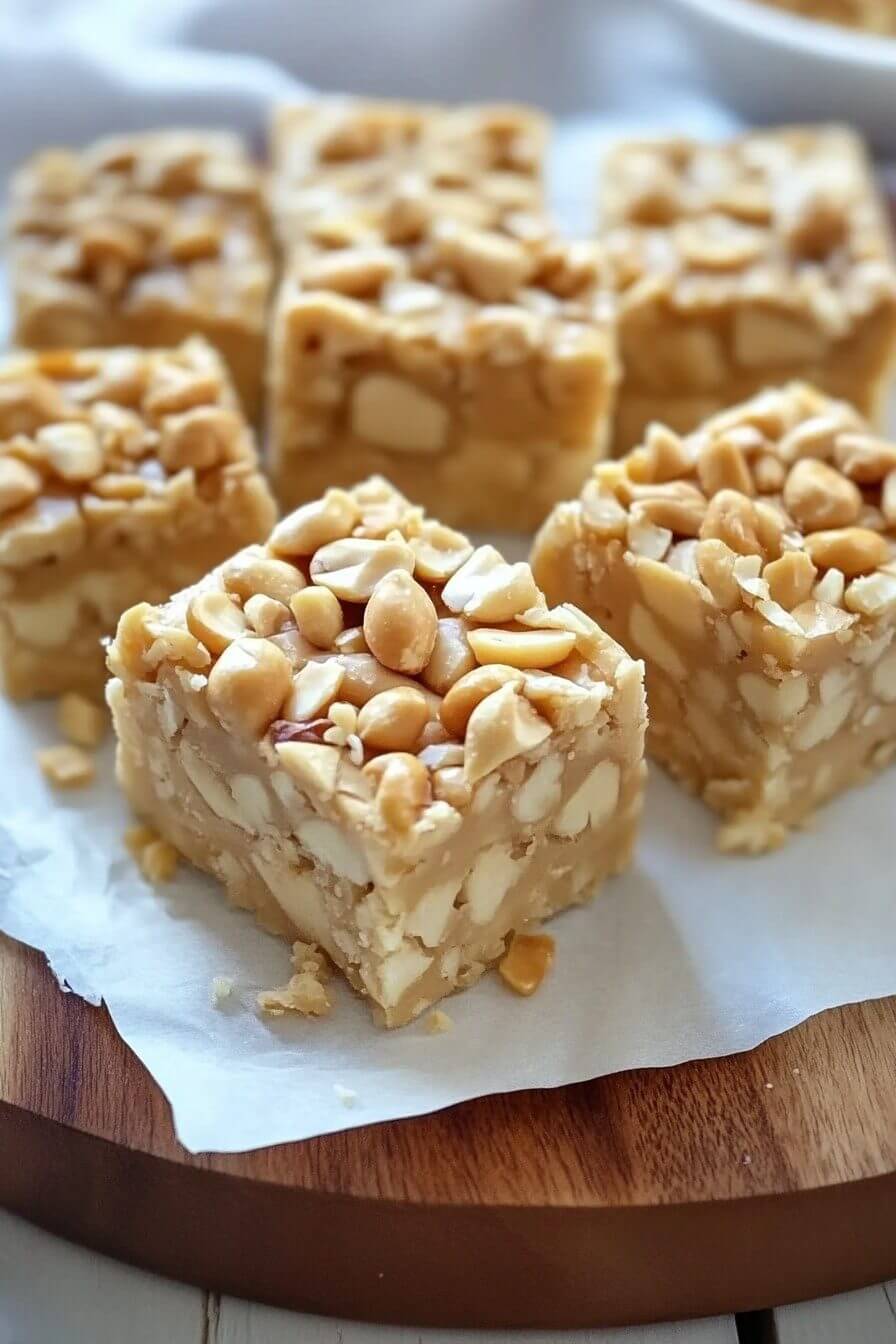
These No-Bake Payday Nut Squares are layers of salted peanuts, creamy peanut butter and gooey marshmallows — a treat that appeals to both the sweet and salty in us. Always great for a multitude of occasions, they’re quick to make and full of that nutty goodness we all love.
Why You’ll Love It:
No-Bake and Easy Forget the oven! These Payday Nut Squares need just a little work on the stovetop, which makes them quick, and accessible to cooks of all skill levels.
Perfectly Balanced Sweet & Salty: With salted peanuts on top and bottom, plus a creamy peanut butter filling, these bars hit the sweet-salty balance.
Candy-Bar Goodness at Home: We can’t quite know what this recipe is like until we have the ingredients in front of us, but in case no one remembers the original, that is a Payday candy bar; these squares have all the flavors from long ago, but in newer, fresher, homemade form.
Crowd-Pleaser: These treats are beloved by kids and adults. Great for parties, road trips or as a snack meal prep for the week.
Chewy Texture: Serve chilled for a firmer, crunchier bite, or at room temperature for a softer, chewier experience.
Key Ingredients:
A closer look at each ingredient to help you reap the benefits from your Payday Nut Squares!
Salted Peanuts
Salted, skinless peanuts create the signature crunch of these bars, and deliver the savory element that makes each bite so addictive. Divide them into two groups, one for the base and one for the topping. If you’re steering clear of added salt, you can switch out the peanuts for unsalted ones, but don’t skimp on that finishing sprinkle of kosher salt on top!
Butter
A little butter helps melt the peanut butter chips and provide the coveted smooth, glossy texture. Regular, salted butter is perfect here, too, accentuating the salty-sweet profile, but if you’ve got only unsalted, that’ll be just fine.
Peanut Butter Chips
These are the secret ingredient that add a peanutty punch to the bars! They melt beautifully into the butter, and they produce a silky mixture that will—when mixed with the marshmallows—come together for a smooth-and-chewy layer. Peanut butter chips can be found in the baking aisle, usually around the area where chocolate chips are.
Sweetened Condensed Milk
This thick sweet milk provides a dense fudgy quality that works to balance the peanut flavor perfectly. It also aids in binding the mix, which is what helps each square hold together with just the right amount of chew.
Miniature Marshmallows
The marshmallows provide a soft, chew that contrasts well with the crunchy peanuts. Make sure to keep stirring them until they’re melted and blended for a homogenous filling.
Kosher or Sea Salt (Optional)
If you like a hint of salinity, sprinkling a little kosher or sea salt on top of these bars transforms them with a savory finish. A pinch is all it takes to elevate sweetness and nuttiness.
For the full list of ingredients with amounts and instructions, see the recipe card at the bottom of the page
Instructions
Step 1: Prepare the Pan
Grease the Pan: Start by greasing an 11″ x 7″ pan to prevent the nut squares from sticking.
Step 2: Layer the Peanuts
Layer with Peanuts: Evenly layer 1½ cups salted peanuts on bottom of pan. This gives your nut squares a crunchy base.
Step 3: Melt the butter and peanut butter chips
Melt the Mixture: In a large saucepan, add the butter and peanut butter chips.
Heat Over Low: Set them over low heat, stirring constantly until smooth, about 10 minutes. This same technique goes for the peanut butter chips — do not put them too high or they will be burned.
Step 4: Mix in Sweetened Condensed Milk and Marshmallows
To combine: After melted, take the pan off the heat.
Incorporate Sweetened Condensed Milk and Marshmallows: Mix in the sweetened condensed milk and miniature marshmallows, stirring until completely dissolved and smooth.
Step 5: Pour Peanut Butter Mixture
Layer on the Peanut Butter Mixture: Pour the peanut butter mixture over the peanut layer in the pan.
Save This Recipe
Even Spread: Use a spatula to spread evenly over the peanuts.
Step 6: Add Remaining Peanuts
Add Peanuts: Evenly sprinkle the remaining 1½ cups of salted peanuts over the peanut butter layer.
(Optional step) For a hint of saltiness, sprinkle yourself a pinch of kosher or sea salt.
Step 7: Chill the Bars
Chill and Set Cover the pan and chill until set, at least 2 hours.
Step 8: Serve and Enjoy
Cut and Serve: When set, cut the bars into squares. Chill for a firm texture, or let you them come to room temp for something softer on the bite.»
Serving Suggestions:
These Payday Nut Squares are excellent on their own, but here are a few ideas to take your treat game up a notch:
Dipped in Chocolate: Melt some milk/dark chocolate and dip the cut pieces into the melted chocolate.
Served With a Scoop of Vanilla Ice Cream: For an über-decadent dessert, serve with a scoop of ice cream.
Serve with Cold Glass of Milk or Hot Coffee: Salted and sweet flavors pains well with a tall glass of cold milk or hot cup of coffee in a warm jackets.
For a full dessert spread, serve these with other no-bake goodies like No-Bake Chocolate Oatmeal Cookies to Peanut Butter Rice Krispies Treats.
Storage and Meal Prep Tips:
These bars are also great for meal prep or making ahead:
Refrigerate: Keep them in an airtight container in the fridge for up to a week. The fridge maintains them firm and chewy.
Freezing: To keep them for longer, freeze the cut bars in an air at container separating the layers with parchment paper. They’ll last well for three months or so. Let them thaw for a few minutes before eating, though.
Room Temperature Storage: If you want a softer texture, you may store the bars at room temperature (in a cool environment) for about two days.
Variations:
There are so many ways to switch it up to make the recipe yours!!
Add a Layer of Chocolate: Melt some chocolate chips and spread the melted chocolate over the peanut layer, then add the peanut butter mixture for a chocolate-covered Payday bar effect.
Make It Nut-Free: Use sunflower seed butter instead of peanut butter chips and roasted sunflower seeds instead of peanuts for nut allergies.
Add Caramel Swirls: Before topping with the final layer of peanuts, add a few dollops of caramel sauce on top of the peanut butter layer, for an added sweetness.
Use Different Nuts: Change the peanuts to cashews, almonds or pecans for a different taste. But make sure they’re salted, for that sweet-salty combo.
Use Crunchy Peanut Butter Chips: Oh, man, if you can find crunchy peanut butter chips to use, they give each bite little nuggets of texture.
Conclusion:
These No-Bake Payday Nut Squares are a super tasty sweet-salty combo that all candy lovers should try! They don’t need an oven (or much else, really), and they have plenty of room for customization, so they’re ideal for all occasions. Whether you’re whipping them up for a snack, a dessert or simply to appease that candy-bar craving, these nut squares will surely do the trick. Whip up a batch today and be prepared for everyone to ask for seconds!
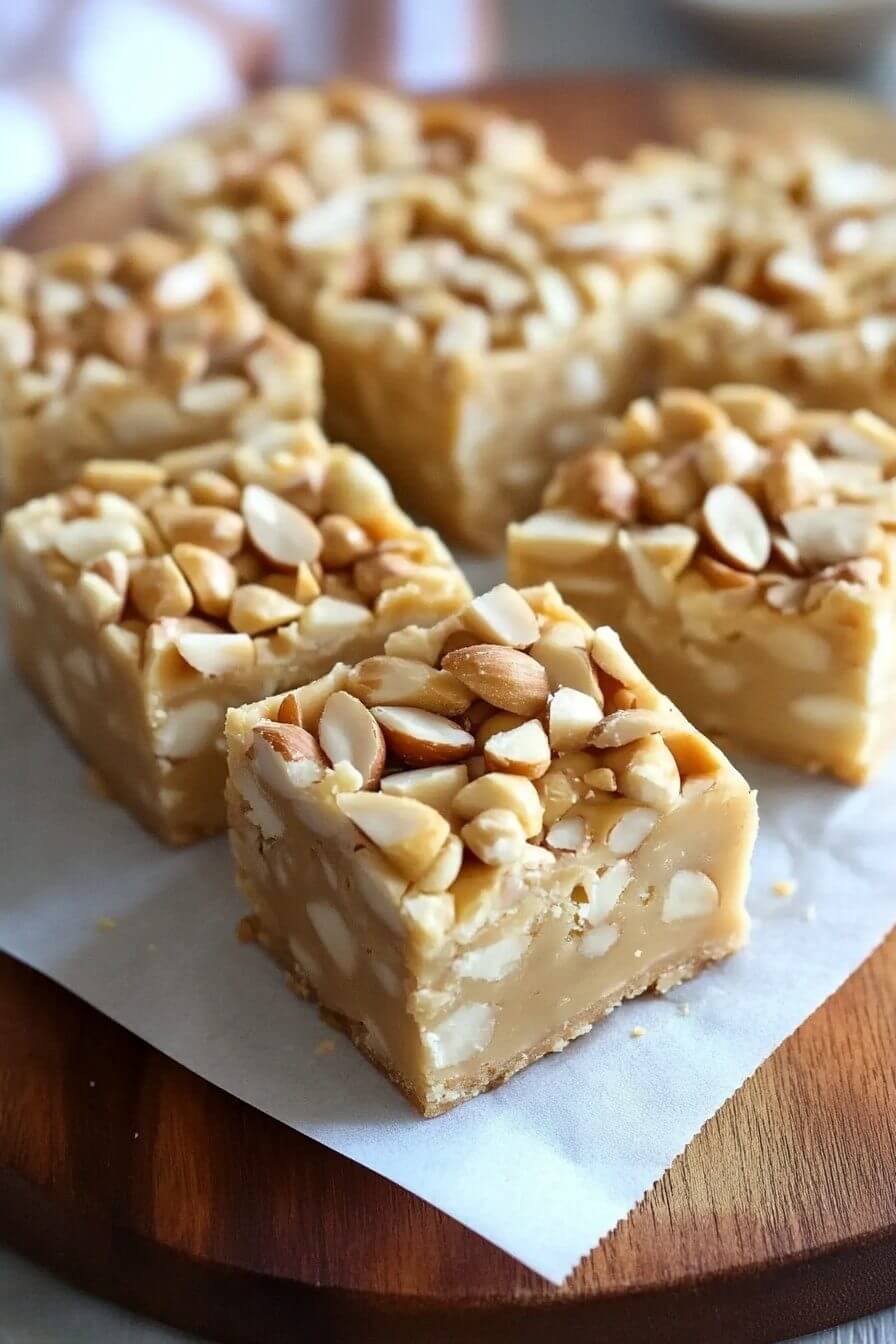
No Bake Payday Nut Squares
Ingredients
- 3 cups salted peanuts divided, no skins
- 2.5 tbsp butter
- 2 cups peanut butter chips
- 14 oz sweetened condensed milk
- 2 cups miniature marshmallows
- kosher or sea salt optional, for topping
Instructions
- Grease an 11" x 7" pan to prevent the nut squares from sticking.
- Evenly spread 1½ cups of salted peanuts on the bottom of the pan to create a crunchy base.
- In a large saucepan, combine butter and peanut butter chips. Heat over low, stirring constantly until smooth, about 10 minutes.
- Remove the saucepan from heat. Stir in sweetened condensed milk and marshmallows, mixing until fully melted and smooth.
- Pour the peanut butter mixture over the peanut layer in the pan and spread evenly with a spatula.
- Sprinkle the remaining 1½ cups of salted peanuts on top. Optionally, add a pinch of kosher or sea salt.
- Cover the pan and refrigerate for at least 2 hours until set.
- Once set, cut the bars into squares. Serve chilled for a firm texture, or allow to reach room temperature for a softer bite.

