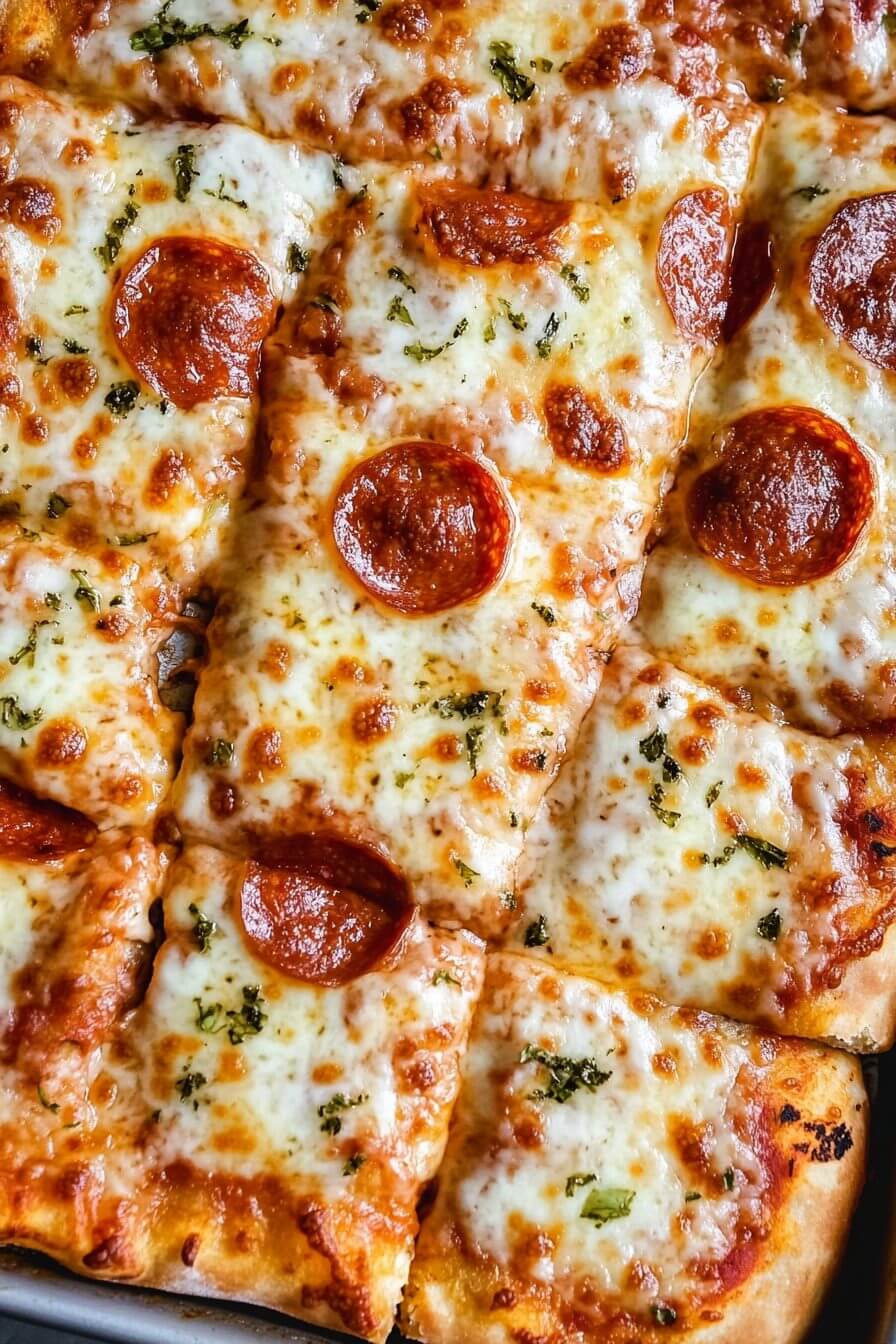
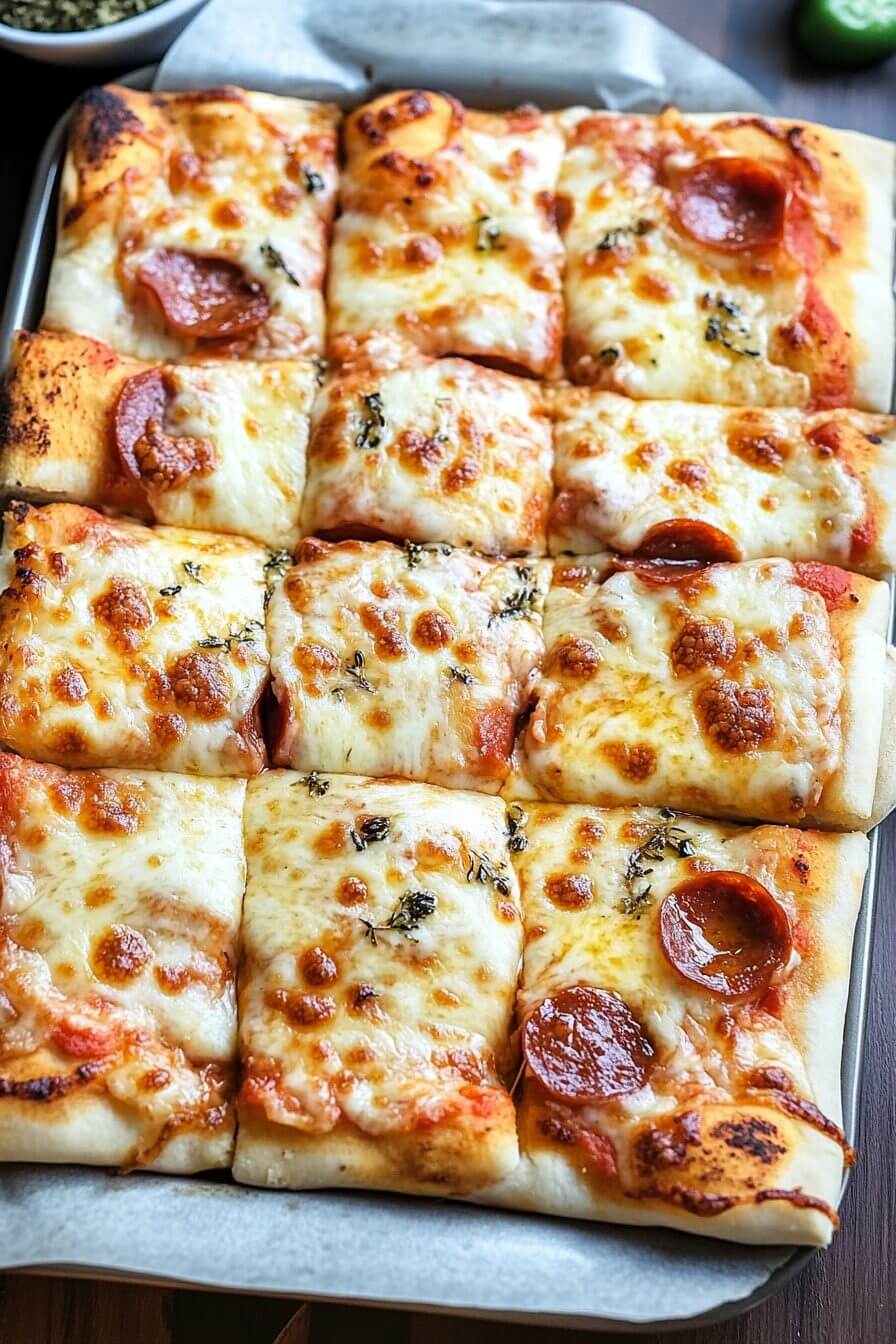
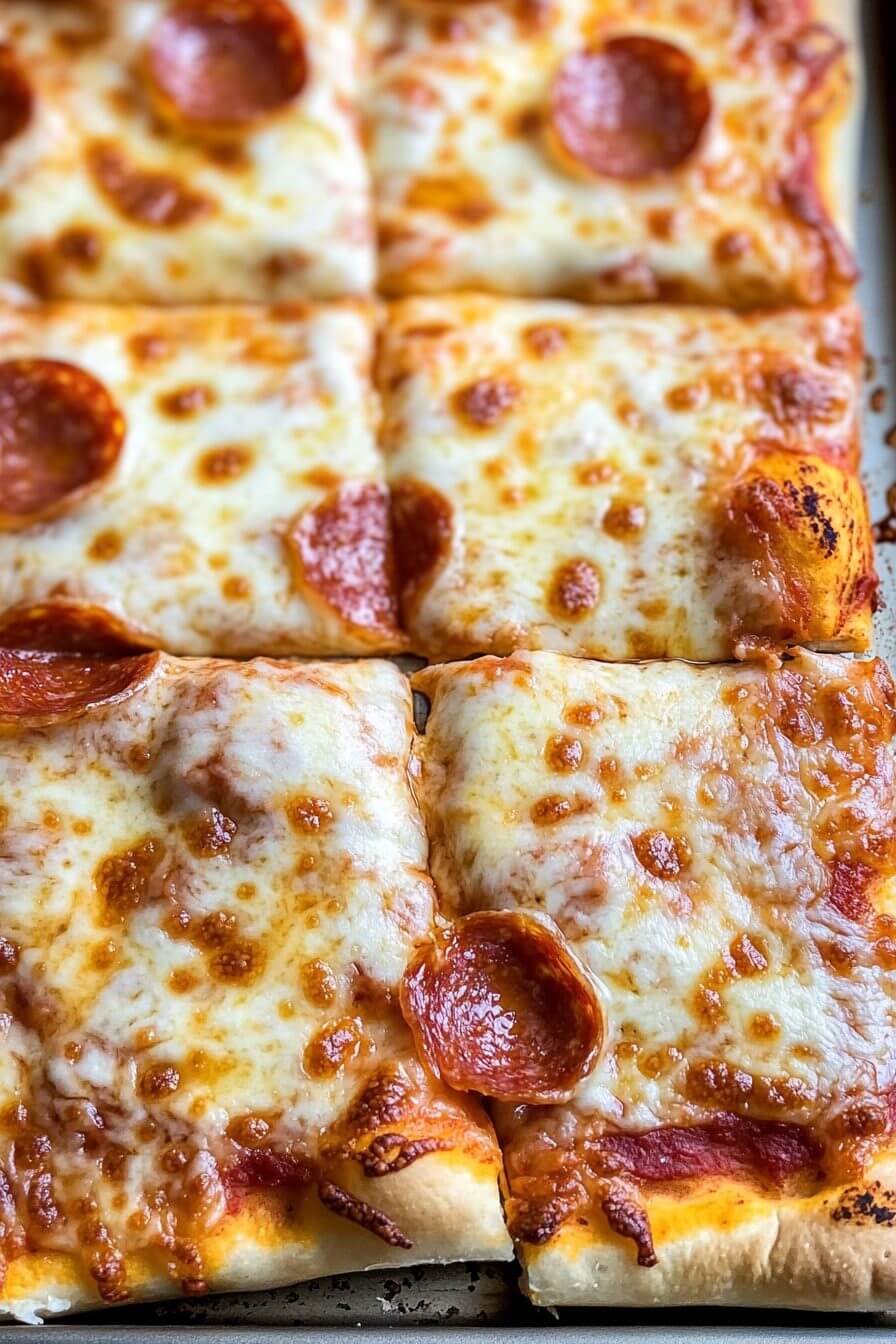
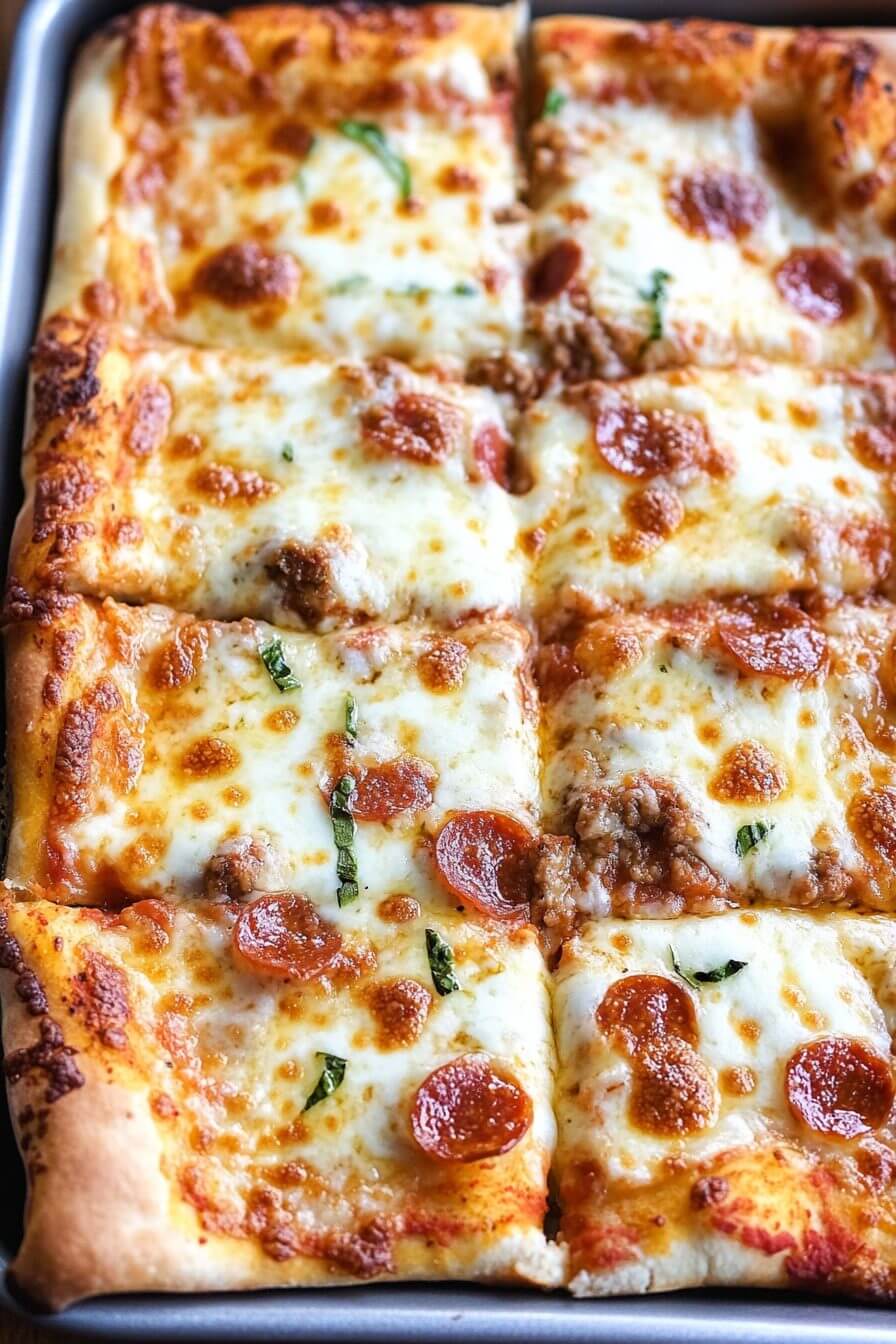
This nostalgic School Pizza brings back all the cafeteria vibes—in the best way. With a soft, pourable crust, hearty ground beef topping, and a zesty homemade tomato sauce, it’s just like the rectangular slices we used to get at lunchtime (but better!).
School Cafeteria Pizza
I don’t know about you, but every time I think of school pizza, I can almost hear the lunch bell ringing. There was just something about that spongy, cheesy, square slice that hit different. My husband Tommy still talks about it like it was gourmet! 😂 So of course, I had to recreate it at home—and I have to say, this version might even be better than we remember.
The dough is quick and easy to make—no long rise times here—and the seasoned tomato sauce is full of flavor without being fussy. We top it with melty mozzarella and browned ground beef, just like the classic, and serve it sliced into rectangles for that true cafeteria throwback.
If you’re craving a little taste of childhood, this is the dinner to make. (And if you love nostalgic meals, try my Lightened-Up Sloppy Joes or Baked Mac and Cheese Cups!)
Why the Ingredients Matter
This isn’t one of those recipes where you can just swap in whatever you’ve got lying around and expect the same vibe. Each ingredient plays a subtle—but important—role in nailing that authentic school lunch flavor. Here’s how to get it right from the get-go.
-
Flour: All-purpose flour is your best bet for that soft, slightly chewy crust. If you’ve only got bread flour? That’ll work too. It’ll give you a little more bite and stretch—nothing wrong with that.
-
Powdered Milk: Seems random, right? But this is actually key. It adds a soft sweetness to the dough and helps get that light, airy cafeteria texture. Don’t skip it.
-
Quick-Rise Yeast: Speed matters, especially when you’re hungry. Quick-rise yeast helps cut down on wait time without compromising texture.
-
Ground Beef: It’s not trying to be fancy—it’s just seasoned, lean, and delicious. Keep it simple here.
-
Tomato Sauce: This isn’t your wood-fired pizza with layers of roasted garlic. This sauce is smooth, lightly sweet, and herby. Think comforting, not complicated.
-
Cheese: Yes, mozzarella. But if you can get your hands on that slightly rubbery imitation mozzarella they used to use in school kitchens? Go for it. Otherwise, shred it fresh—it melts better and tastes miles better than the pre-bagged stuff.
Complete list of ingredients with quantities and instructions is located in the recipe card below
From Dough to Tray to Slice: Step by Step
So are you ready to make the magic happen? Here’s the lowdown — nothing too pretzelistic, Just a couple of beatific steps to pizza nostalgia.
Step 1: Crust Comes First
Crank that oven up to 475°F (245°C). Sure, it’s hot — but it helps the crust form that nice base without getting dry.
Preheat that oven to 475°F (245°C). Yes, it’s hot—but it helps the crust get that nice base without drying out.
Grease your pan: A 9×13-inch pan works perfectly. Hit it with non-stick spray, and line it with parchment paper if you’ve got some lying around—it makes clean-up easier.
Mix dry ingredients in a big bowl: flour, powdered milk, sugar, quick-rise yeast, and salt.
In another bowl, combine warm water and oil, then pour that into your dry mix. Stir until a dough forms. (Don’t overthink it—just mix until it comes together.)
Press the dough into your pan using your fingers. If it fights you, let it rest a few minutes—it’ll chill out.
Pre-bake the crust for 8–10 minutes. Don’t let it brown—just let it firm up a bit. Then take it out and set it aside.
Step 2: Toppings That Take You Back
Cook your ground beef in a skillet over medium heat until it’s no longer pink. Drain off any excess grease (you don’t want a soggy bottom), and season it with salt and pepper.
Make the sauce: In a saucepan, toss in tomato paste, water, olive oil, garlic, and a mix of oregano, basil, rosemary, salt, and pepper. Simmer it low and slow for 20–30 minutes, stirring now and then. It’ll thicken up into that cozy, slightly sweet sauce you remember.
Save This Recipe
Step 3: Bring It All Together
Spread the sauce over your pre-baked crust. Don’t drown it—just enough for good coverage.
Top with beef, evenly spread, followed by a generous pile of shredded mozzarella.
Wanna Go Full Cafeteria Mode? Try These Sides
-
Simple Side Salad: Iceberg, shredded carrots, and a basic vinaigrette or ranch. It’s the perfect crunchy counterpoint.
-
Fruit Cup: Canned peaches or mixed fruit in syrup. Nostalgic? Yep. Delicious? Surprisingly, still yes.
-
Dipping Sauce Line-Up: Ranch, hot sauce, or extra marinara if you like a saucy slice.
Keep the Leftovers (If There Are Any)
This pizza actually gets better the next day. Just reheat it in the oven or toaster oven to keep that crust from going limp.
-
Fridge: Store leftovers in an airtight container for up to 3 days.
-
Freezer: Wrap individual slices in plastic wrap, then bag them. They’ll keep for about a month. Reheat at 375°F for 10–15 minutes and boom—back to cafeteria land.
Pro tip: Make the sauce and beef a day ahead and store in the fridge. That way, when you’re ready to bake, all you have to do is assemble and toss it in the oven.
Wanna Shake Things Up?
Let’s be real—nostalgia’s great, but maybe you want to put your own spin on things. Here’s how:
-
Pepperoni or Sausage: Swap the ground beef for classic pizza meats. Easy, familiar, still on-theme.
-
Veggie Style: Bell peppers, mushrooms, olives—go wild. Or at least semi-wild.
-
Cheese Bomb: Mix in cheddar, provolone, or even a little parmesan for that extra “cheese pull” moment.
-
Hawaiian (Yeah, we said it): Ham and pineapple. It’s divisive, but some of us grew up on it.
Final Thoughts: It’s More Than Just Pizza
This isn’t about culinary excellence—it’s about memories. The lunchtime line, the noisy cafeteria, the feeling of seeing that square slice on your tray and knowing it was a good day.
Whether you’re making this for a cozy family dinner, a retro game-night snack, or just to relive those oddly perfect cafeteria lunches, this school pizza delivers big time.
So roll up your sleeves, preheat that oven, and give yourself permission to cook something that tastes like childhood. You deserve that kind of comfort.
And hey, don’t forget to cut it into squares.

School Pizza
Ingredients
- 2 ⅔ cups all-purpose flour
- ¾ cup powdered milk
- 2 tbsp sugar
- 2 ¼ tsp quick-rise yeast 1 packet
- 1 tsp salt
- 1 ⅔ cups warm water 105-110°F
- 2 tbsp vegetable oil
- ½ lb ground beef
- ½ tsp salt for ground beef
- ½ tsp pepper for ground beef
- 8 oz mozzarella cheese shredded
- 6 oz tomato paste for sauce
- 1 cup water for sauce
- ⅓ cup olive oil for sauce
- 2 cloves garlic minced, for sauce
- 1 tsp salt for sauce
- 1 tsp black pepper for sauce
- ½ tbsp dried oregano for sauce
- ½ tbsp dried basil for sauce
- ½ tsp dried rosemary crushed, for sauce
Instructions
- Set your oven to 475°F (245°C).
- Spray a 9x13-inch baking pan with non-stick spray and line it with parchment paper.
- In a large bowl, combine flour, powdered milk, sugar, yeast, and salt.
- Mix warm water and vegetable oil, then add to the dry ingredients. Stir quickly to form a dough.
- Transfer the dough to the greased pan and press it out evenly. Let it rest if tough to stretch.
- Bake the crust for 8-10 minutes until it begins to set, then remove from the oven.
- In a skillet over medium heat, cook ground beef until no longer pink. Drain excess fat and season with salt and pepper.
- In a saucepan, combine tomato paste, water, olive oil, garlic, salt, pepper, oregano, basil, and rosemary. Cook on low to medium for 20-30 minutes, stirring occasionally.
- Spread sauce over pre-baked crust, then sprinkle with ground beef and shredded mozzarella cheese.
- Bake for another 8-10 minutes, or until the cheese is melted and slightly browned.
- Let the pizza rest for 5 minutes, then slice into squares and serve.


