Save This Recipe
So the other day, I had some mashed potatoes left over from dinner—just enough to feel guilty about tossing, but not quite enough for a full side. You know the drill. I didn’t feel like eating them plain again, so I mixed in some cheese, popped them into a muffin tin, and wow… total game changer.
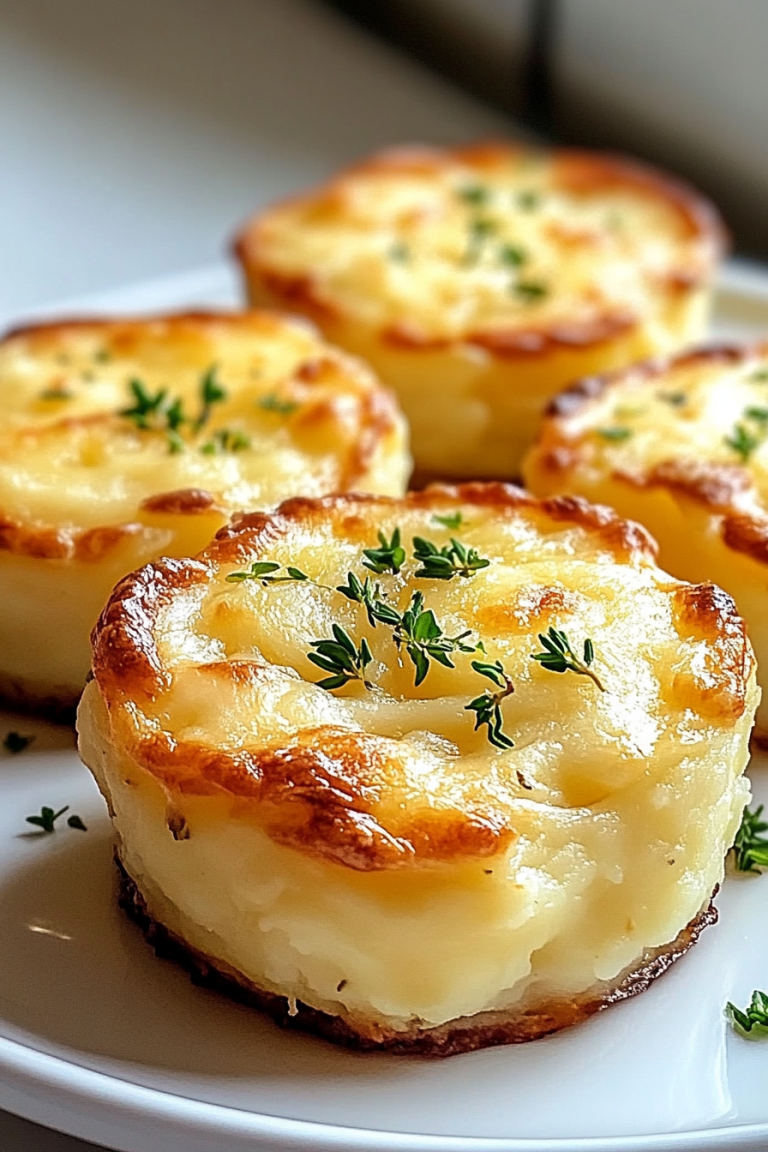
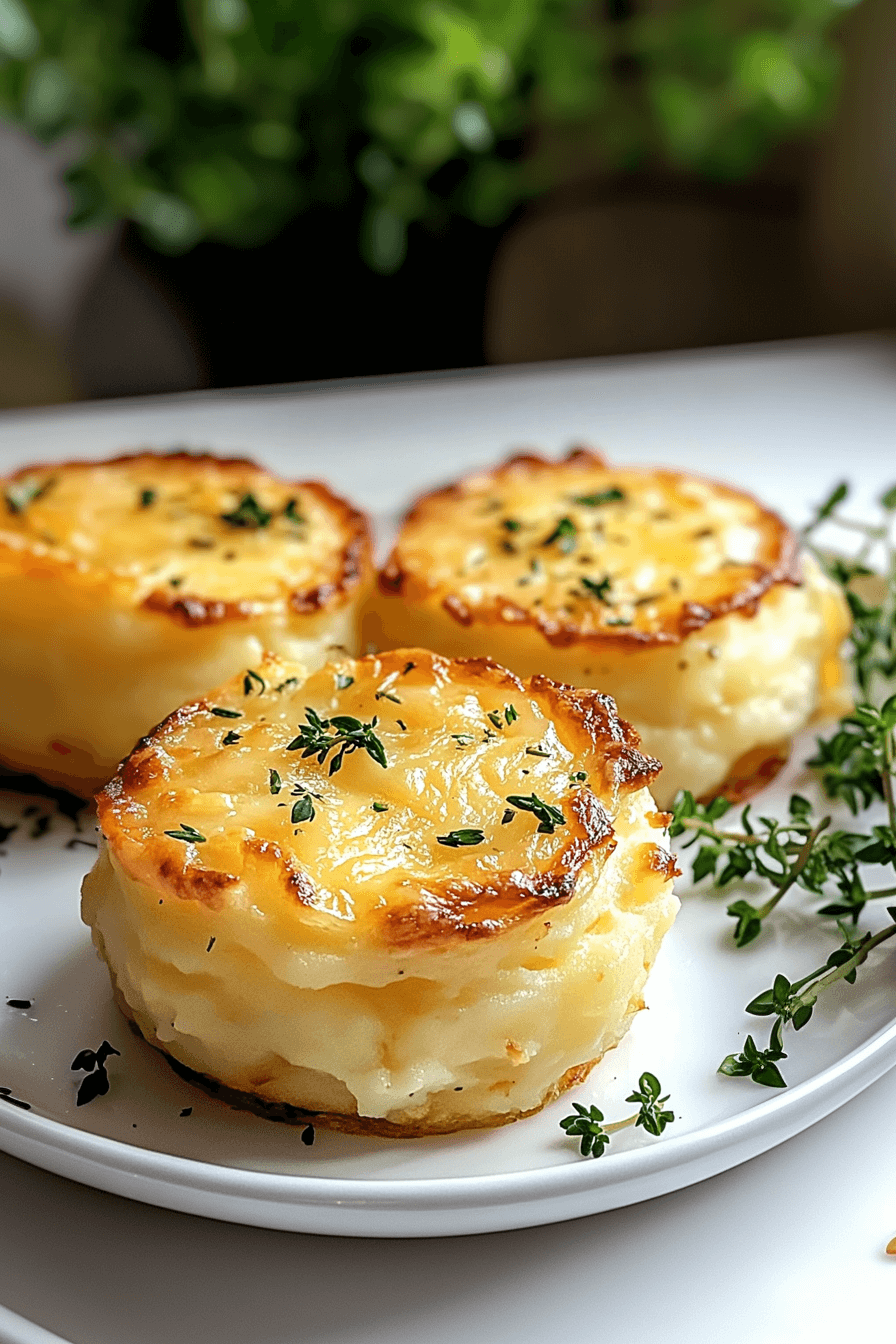
These little puffs come out golden and crispy on the edges, soft in the middle, and just cheesy enough to make you go back for another. I’ve started making extra mashed potatoes on purpose just so I can whip up a batch of these the next day. They’re great as a snack, a side, or honestly just something to nibble on while you’re standing in the kitchen.
Why I Love Making These Little Potato Puffs
Honestly, these came about because I had a bowl of mashed potatoes in the fridge and didn’t feel like reheating them again. So I mixed in a few things, rolled them up, baked them—and suddenly they were everyone’s favorite thing on the table.
The kids are obsessed – Anything bite-sized and cheesy is an easy win. They ask for these more than fries.
Leftovers, but better – If you’ve got mashed potatoes sitting around, this is such a good way to use them without it feeling like leftovers.
No frying, no mess – You don’t need oil splattering everywhere. Just roll ’em, bake ’em, and you’re done.
Serve them however you want – I’ve brought them to parties, served them next to roast chicken, or just put them out for game day. They work every time.
Key Ingredients
- Mashed Potatoes – Buffed, chilled mashed potatoes; the ones of the previous night will yield a better puff texture, which holds its shape more effectively.
- Cheddar Cheese – Sharp Cheddar is a best choice in order to enjoy a rich, melted goodness found in each satisfying bite .
- Egg – Only one egg is essential when binding everything together through an oven process.
- All-Purpose Flour – Little flour gives the mixture just enough structure without making it dense.
- Garlic Powder – It adds a gentle garlic cooked flavor that balances out the taste of cheese.
- Parmesan Cheese – Roll all the puffs in grated parmesan before baking. It eventually results in a crisp, golden finish with a salty, nutty touch.
Full measurements & instructions are located in the recipe card below.
How to Make Cheesy Potato Puffs
Step 1: Warm Up the Oven and Show That Pan Some Love
First things first—preheat your oven to 400°F (200°C). That golden-brown finish doesn’t just happen by magic. It’s all about that hot, steady heat working its crisping magic from the outside in.
Then grab your trusty mini muffin pan—yes, the small one, the one you forgot you had—and give it a generous buttering or a hit with nonstick spray. Nobody wants to wrestle with stuck-on potato puffs, and this step saves you from a snack tragedy later.
Step 2: Mash Up the Goodness
Here’s where the fun starts. In a big mixing bowl, toss together:
-
Cold mashed potatoes (leftovers work beautifully here)
-
Shredded cheddar cheese (the sharper, the better)
-
Chopped fresh chives (or scallions in a pinch)
-
All-purpose flour
-
Garlic powder
-
Salt and pepper
Then—and this is key—crack in one egg and mix until everything feels like one big, cheesy family. The egg’s the glue that holds it all together. Skipping it? Not a great idea unless you want cheesy chaos.
And listen, if you’ve ever stared down leftover mashed potatoes thinking “what now?”—this is your answer. No judgment if you make a batch just for this recipe.
Step 3: Roll, Roll, Roll Your Puffs
Get your hands in there. Or use a cookie scoop if you’re fancy (or just don’t want sticky hands). Form the mix into 1-inch balls, something between a golf ball and a meatball.
Then here’s the kicker: roll each ball in grated Parmesan cheese before dropping it into a muffin cup. The Parm adds crunch and a salty, umami layer that takes them from “yum” to “wait, who made these?”
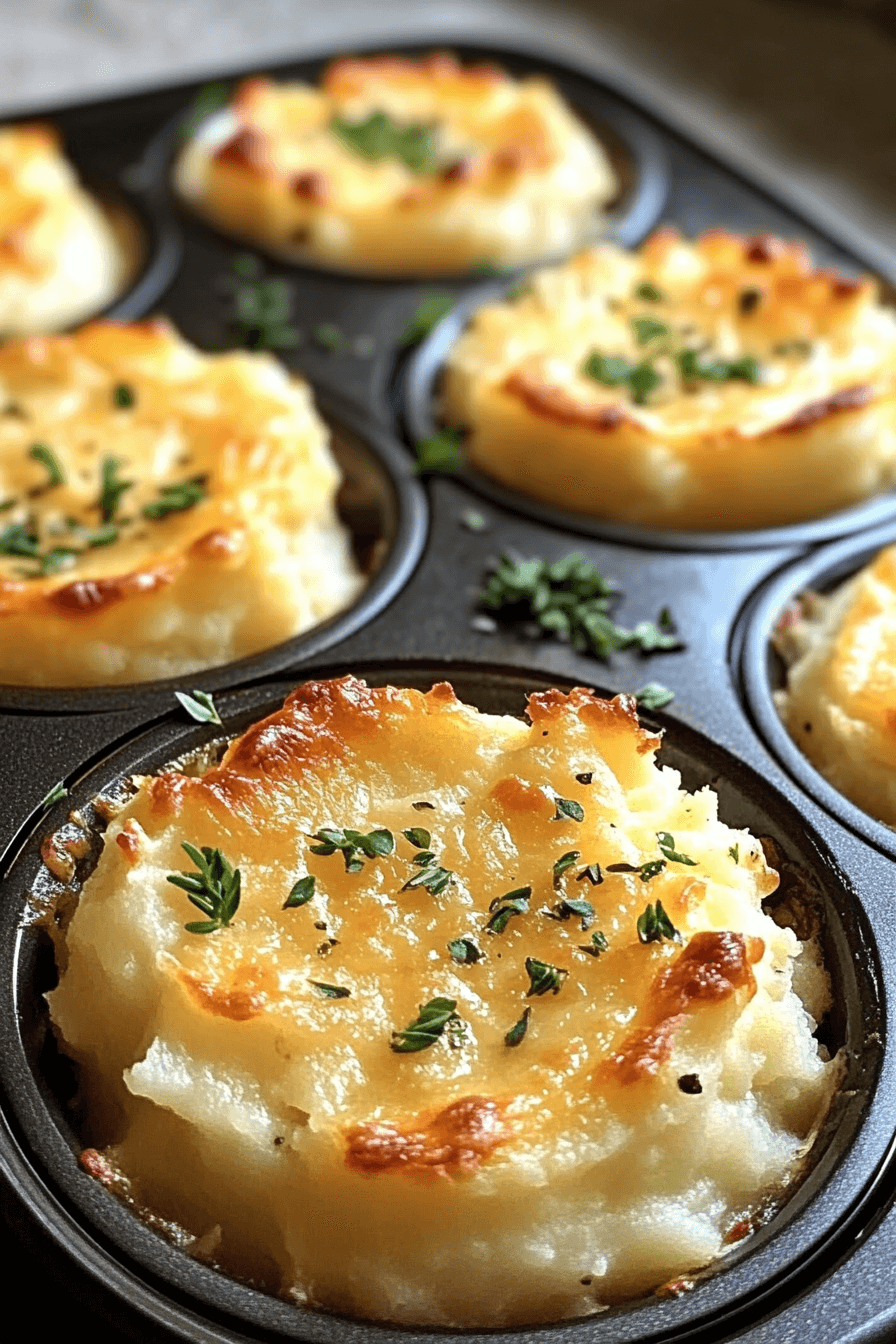
Lightly press each ball into the muffin pan so it sits snug but not squished. Kind of like tucking it in for a nap—cozy, not crushed.
Step 4: Bake Until Golden Dreams Come True
Slide the pan into the hot oven and bake for 15 to 20 minutes. You’re looking for edges that are golden and crisp, with cheesy bits bubbling like a pizza commercial.
Don’t walk away too far, though. These guys go from “almost there” to “whoops” faster than you’d think. Start checking around the 15-minute mark—use your nose. When it smells like something amazing, it probably is.
Step 5: Let ‘Em Chill… Just a Bit
Here’s the part where your willpower gets tested.
Let them cool in the pan for a few minutes. Not forever—just long enough that you can pop them out without leaving behind a cheesy casualty. Trust the process.
Then, serve them hot, maybe with a little dipping sauce (or three). They’re crisp, cheesy, soft inside, and honestly kind of addictive.
What Goes With ‘Em? Basically Anything.
You can totally enjoy these little guys all on their own—straight off the pan, no judgment. But if you’re feeling like dressing them up a bit, here are a few ideas people love playing around with:
-
Dip ‘em in whatever you’ve got on hand—sour cream’s a classic, ranch never fails, and if you’ve got marinara in the fridge? Go wild.
-
Plate ‘em up next to some grilled steak, roasted chicken, or heck—even a big cozy bowl of tomato soup. Sounds weird, tastes amazing.
-
Sprinkle stuff on top like extra chives, a little smoked paprika, or a few drops of hot sauce if you’re into heat. (I mean, who isn’t?)
Leftovers? Oh Yeah, They Reheat Like a Dream
Accidentally made a few too many? Or made extras on purpose? Either way, you’re winning.
-
Fridge life: Store them in a sealed container and they’ll be good for about three days. When you’re ready to eat, toss ‘em in a toaster oven or regular oven at 350°F for a few minutes—around 5 to 8 does the trick. They crisp right back up like nothing ever happened.
-
Freezer hack: Let them cool off completely, spread them out on a tray (so they don’t freeze into one big cheesy blob), and stick them in the freezer. Once they’re solid, move them into a zip-top bag or container. They’ll hang out happily in there for up to two months. Want to eat them straight from frozen? Yep, still 350°F, just give them 10 to 12 minutes.
Conclusion
These little potato puffs are just plain good. Crispy outside, soft and cheesy inside. They’re a smart way to use up mashed potatoes, but honestly, they’re worth making on purpose.
Put ’em on the table and watch—won’t be a single one left.
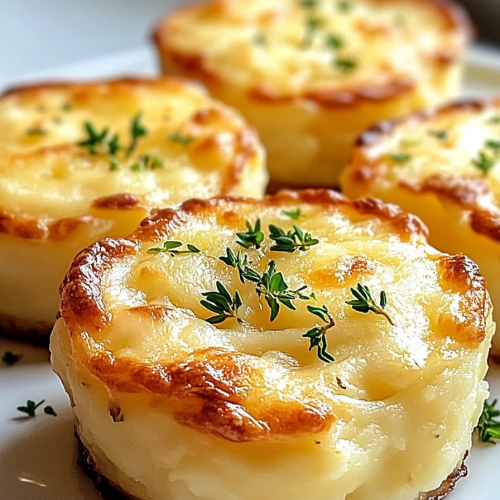
Cheesy Mashed Potato Puffs
Ingredients
- 3 cups mashed potatoes chilled
- 1 cup cheddar cheese shredded
- 1 large egg
- 1/4 cup chives chopped
- 1/4 cup all-purpose flour
- 1/2 tsp garlic powder
- salt and pepper to taste
- 1/2 cup Parmesan cheese grated
- cooking spray or butter for greasing the muffin pan
Instructions
- Preheat your oven to 400°F (200°C). Generously grease a mini muffin pan with butter or cooking spray to prevent sticking.
- In a large mixing bowl, mix the chilled mashed potatoes with shredded cheddar cheese, chopped chives, all-purpose flour, garlic powder, salt, and pepper. Crack the egg into the bowl and stir thoroughly until everything is evenly mixed.
- Use your hands or a small cookie scoop to form the potato mixture into 1-inch balls. Roll each ball in grated Parmesan cheese for a crispy coating. Place each ball into a cup of the greased muffin pan, pressing gently to shape them into the mold.
- Place the muffin pan in the preheated oven and bake for 15-20 minutes, or until the edges of the puffs turn golden brown and crispy. Keep an eye on them to prevent overcooking.
- Let the puffs cool in the pan for a few minutes before removing. Serve warm for the best flavor and texture.

