Save This Recipe
It always starts the same way for me. The oven clicks on, the house goes quiet for a moment, and then—slowly—that familiar scent shows up. Butter. Sugar. Cinnamon drifting in from something else already baking. You know the one. It’s the smell that makes you pause mid-task and think, Oh. It’s really happening. The holidays are here.
My kitchen has never been fancy, but during December it feels special anyway. Lights glow against the windowpanes, flour dusts the counter like fresh snow, and every surface becomes fair game for cooling racks and half-written gift tags. And honestly? That’s where these Christmas Cherry Bars shine. They give you all the nostalgia of cherry pie without the rolling pins, chilled dough, or whispered prayers that your crust won’t tear.
These bars are cozy, cheerful, and wonderfully unfussy. They’re the kind of dessert you make once and then quietly keep making every year because people ask for them. Again and again.
Why You’ll Love These Christmas Cherry Bars
Here’s the thing. Holiday baking should feel joyful, not like another item on a very long to-do list. These bars understand that.
-
No rolling, no chilling, no stress. You press, layer, bake, and move on with your day.
-
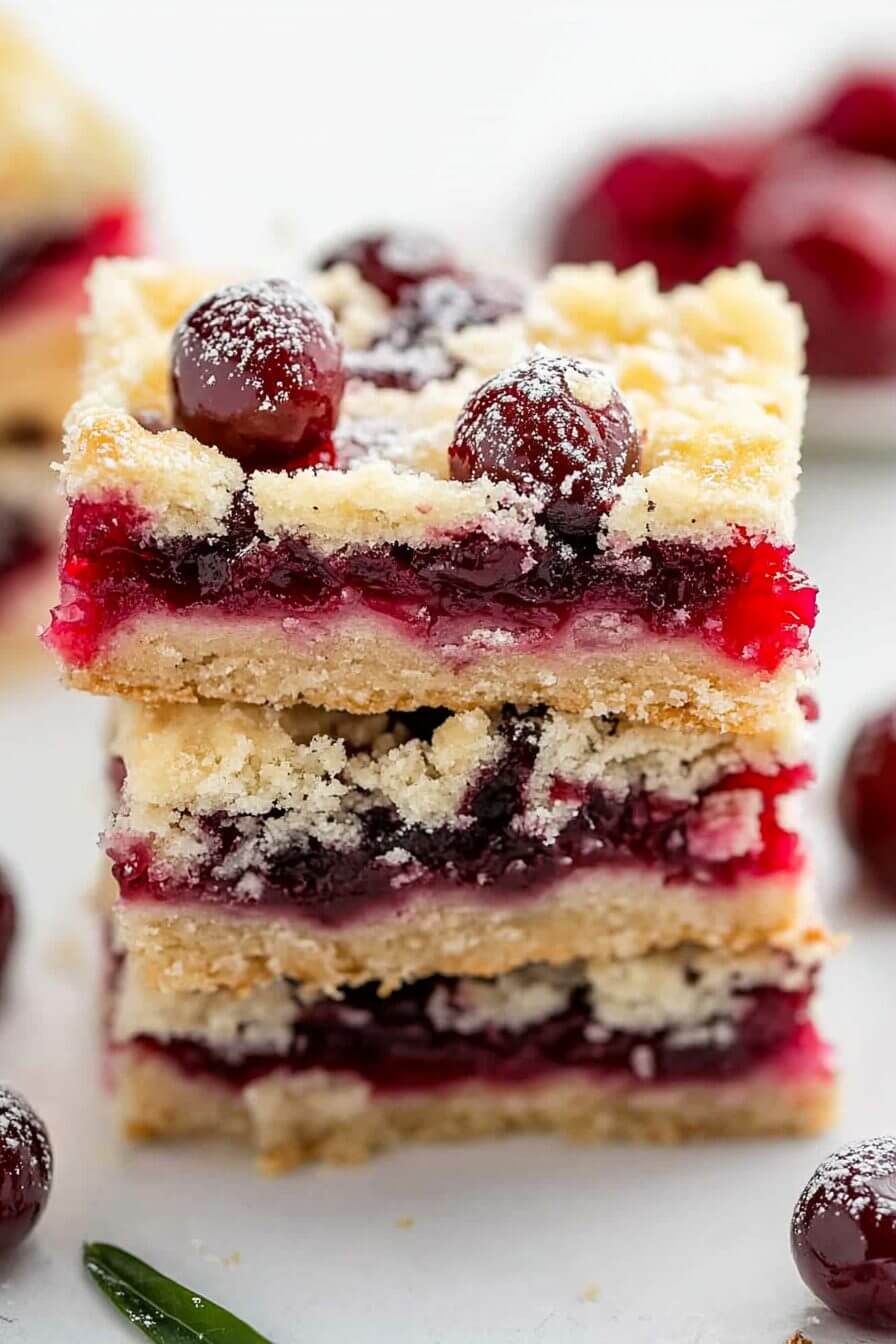
That festive cherry color. The deep crimson filling peeks through the buttery dough like ornaments on a tree.
-
Perfect for sharing. A single 9×13 pan gives you about 24 generous squares, which means plenty for guests, neighbors, or that secret stash in the freezer.
-
Make-ahead friendly. Bake today, glaze tomorrow, serve when you’re ready. Future-you will be grateful.
-
They travel well. Office party? Cookie swap? Family gathering three towns over? These hold up beautifully.
And maybe most importantly, they taste like something your aunt or grandmother might’ve made. Familiar. Comforting. Just sweet enough.
Timing, Yield, and Why It Matters This Time of Year
Let me break it down plainly, because December schedules are already doing too much.
You’ll need:
-
About 15 minutes of prep
-
35–40 minutes in the oven
-
Another 15 minutes to cool before glazing
So just over an hour from start to finish. That’s it.
One pan makes around 24 bars, depending on how generous your knife hand is. They’re hearty without being heavy, which makes them ideal for dessert tables where folks like to “just try a small piece” and somehow come back for another.
Ingredients (With Notes From a Well-Used Kitchen)
Nothing fancy here. Just good, dependable baking staples.
For the Bars
-
1 cup (2 sticks) unsalted butter, softened
Take it out early. Truly soft butter makes creaming easier and the texture better. -
2 cups granulated sugar
Yes, it sounds like a lot. It balances the cherries and keeps the bars tender. -
4 large eggs, room temperature
Cold eggs can make batter look curdled. Ask me how I know. -
1 teaspoon vanilla extract
Use the good stuff if you have it. Nielsen-Massey is lovely here. -
3 cups all-purpose flour, spooned and leveled
Scooping straight from the bag packs flour down. A light hand matters. -
1 teaspoon salt
Don’t skip it. Salt keeps sweetness in check. -
1 (21-ounce) can cherry pie filling
I usually grab Duncan Hines or Comstock. Reliable and nicely thick.
For the Vanilla Glaze
-
1 cup powdered sugar
-
2 tablespoons milk
Whole milk gives the smoothest finish, but any kind works. -
½ teaspoon vanilla extract
If your glaze feels too thick, add milk a teaspoon at a time. Too thin? More powdered sugar. This isn’t precious.
Step-by-Step: Let’s Bake Together
Take a breath. Clear a little counter space. You’ve got this.
1. Start with the oven
Preheat to 350°F (175°C). Grease a 9×13-inch pan or line it with parchment, leaving a little overhang. That overhang makes lifting the bars out later almost too easy.
2. Cream butter and sugar
In a large bowl, beat the butter and sugar on medium speed until pale and fluffy, about 3 minutes. This step builds structure. Don’t rush it.
3. Add eggs and vanilla
Add eggs one at a time, mixing well after each. Then stir in the vanilla. The batter should look smooth and glossy, not grainy.
4. Dry ingredients
In a separate bowl, whisk together flour and salt. With the mixer on low, add the dry ingredients just until combined. Stop as soon as you don’t see dry streaks. Overmixing makes bars tough, and nobody wants that.
5. Build the base
Scoop out about 1 cup of batter and set it aside. Press the remaining dough evenly into your prepared pan. It helps to lightly flour your fingers.
6. Cherry layer
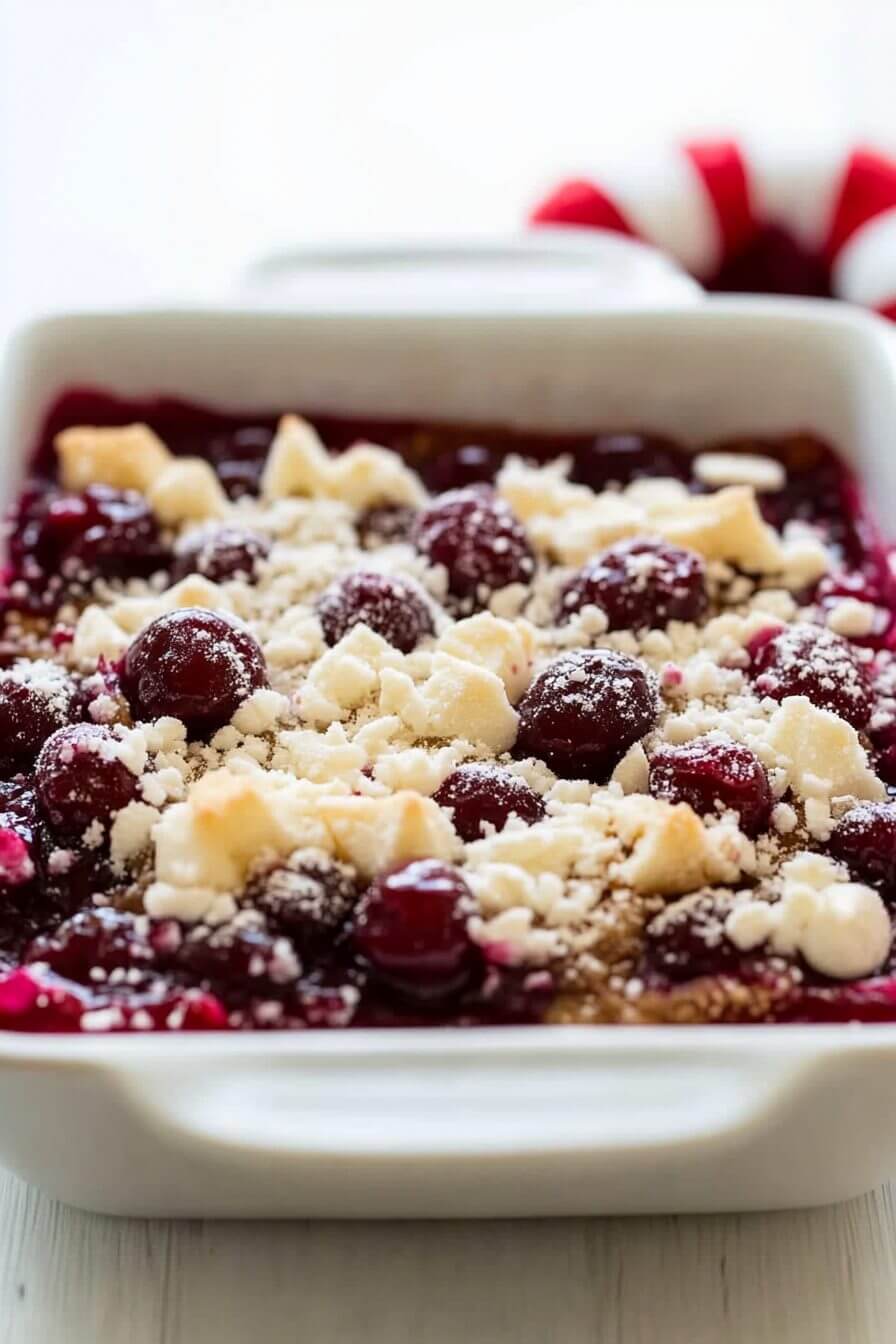
Spread the cherry pie filling over the base. It doesn’t need to be perfect. Those uneven pockets are part of the charm.
7. Top it off
Drop spoonfuls of the reserved batter over the cherries. Let it look rustic. Peaks and valleys bake up beautifully.
8. Bake
Bake for 35–40 minutes, until the edges are lightly golden and a toothpick in the center comes out with moist crumbs—not wet batter.
9. Glaze while warm
Cool the bars for about 15 minutes. Whisk the glaze ingredients until smooth, then drizzle generously over the warm bars. Let it set for 10 minutes before slicing.
This is the moment everyone wanders into the kitchen, by the way.
Frequently Asked Questions
Mine came out a little softer in the middle than I expected—did I mess something up?
Probably not. These bars are meant to be tender, almost pie-like in the center, especially while they’re still warm. I’ve had batches where I worried for a minute, let them cool fully, and suddenly they sliced just fine. If they’re truly gooey, they may have needed a few more minutes, but softness on day one is kind of their thing.
Can I make these the night before without ruining them?
Yes, and honestly, I often do. I usually bake the bars one evening, cover the pan once they’re completely cool, and glaze them the next day. They settle nicely overnight, which actually makes cutting cleaner. Just don’t rush the glazing while they’re hot-hot.
I only have salted butter—should I stop everything and run to the store?
You don’t have to. I’ve used salted butter plenty of times when that’s what was on hand. Just dial back the added salt a bit, or leave it out entirely if your butter is very salty. No one has ever noticed, and no one complained.
My cherry filling bubbled up and looks a little messy. Is that normal?
Totally normal. Cherry filling has a mind of its own once it hits the oven. Those bubbly edges usually bake back down as the bars cool, and even when they don’t, I kind of like the rustic look. A drizzle of glaze covers a lot of sins anyway.
Do these need to be refrigerated, or can they sit out?
They’re fine on the counter for a day or two if your kitchen isn’t overly warm. After that, I usually move them to the fridge just to be safe. Cold doesn’t hurt them, but I do prefer them slightly warmed before eating. Five minutes in a low oven does wonders.
I want to bring these to a party—should I cut them at home or there?
I’ve done it both ways, and it depends on your patience level. Cutting at home is calmer and less rushed, especially if you want neat squares. But if you like that just-baked look and don’t mind slightly uneven pieces, cutting on-site is perfectly fine too.
The glaze set a little faster than I expected—did I wait too long?
Maybe, but it’s not a problem. If the bars cool more than planned, the glaze just sits on top instead of sinking in a bit. Still tastes the same. And if it really bothers you, a second light drizzle never hurt anyone.
Variations That Still Feel Like the Holidays
Once you’ve made these once, you’ll start imagining little tweaks. That’s half the fun.
-
Mixed-Berry Version: Swap cherry filling for blueberry or raspberry.
-
Chocolate Finish: Melt ½ cup dark chocolate chips and drizzle over the glaze.
-
Coconut Addition: Stir ½ cup shredded coconut into the batter for a subtle twist.
-
Nutty Crunch: Sprinkle chopped pecans or almonds over the cherry layer.
-
Almond Note: Replace half the vanilla with almond extract. Just a touch.
They all work. Truly.
Storage, Freezing, and Make-Ahead Advice
These bars are forgiving. A quality I appreciate more each year.
-
Room temperature: Airtight container, up to 2 days.
-
Refrigerated: Up to one week.
-
Frozen: Up to 3 months. Layer with parchment in a freezer-safe container.
To rewarm, pop a bar in a 300°F oven for 5–7 minutes. Not hot. Just cozy.
They’re also excellent for gifting. Wrap individual squares in parchment, tuck into a tin, and suddenly you’re everyone’s favorite neighbor.
A Warm Goodbye (For Now)
These Christmas Cherry Bars are the kind of recipe that sneaks into your tradition rotation without much fuss. They taste like cherry pie memories but fit neatly on a dessert plate. They’re easy enough for a busy weekday and special enough for Christmas Eve.
So tie on your apron, put on something festive, and let your kitchen smell like the holidays for a while. If you make these, I’d love to hear how they turned out—or what little twist you added to make them your own. Drop a comment, ask a question, or just say hello.

Christmas Cherry Bars
Ingredients
- 1 cup butter softened
- 2 cups sugar
- 4 eggs
- 1 tsp vanilla extract
- 3 cups all-purpose flour
- 1 tsp salt
- 1 can cherry pie filling 21 ounces
- 1 cup powdered sugar for optional glaze
- 2 tbsp milk for optional glaze
- 1/2 tsp vanilla extract for optional glaze
Instructions
- Preheat your oven to 350°F (175°C) and grease a 9x13-inch baking pan to prevent sticking.
- In a large mixing bowl, cream together the softened butter and sugar until light and fluffy. Beat in the eggs one at a time, then blend in the vanilla extract.
- In a separate bowl, mix the flour and salt, then gradually add to the butter mixture until fully incorporated.
- Spread 3 cups of the batter evenly across the bottom of the pan, then layer the cherry pie filling on top. Drop small clumps of the remaining batter over the cherry layer.
- Bake for 35-40 minutes until the top is golden brown. A toothpick inserted in the center should come out clean.
- Let the bars cool completely on a wire rack before adding the glaze.
- Mix powdered sugar, milk, and vanilla extract to form a glaze. Drizzle over the cooled bars.
- Let the glaze set, then slice into bars and enjoy!


