Save This Recipe
You know those foods that knock you straight back to your childhood the second you take a bite? Rice Krispie treats are one of those “forever nostalgic” snacks for me. I grew up making them for school picnics and Saturday afternoon nibbling—sticky fingers, gooey smiles, happy hearts. These were the kind of sweets that meant laughter around the kitchen table and maybe even a little sugar rush before bedtime (sorry, Mom).
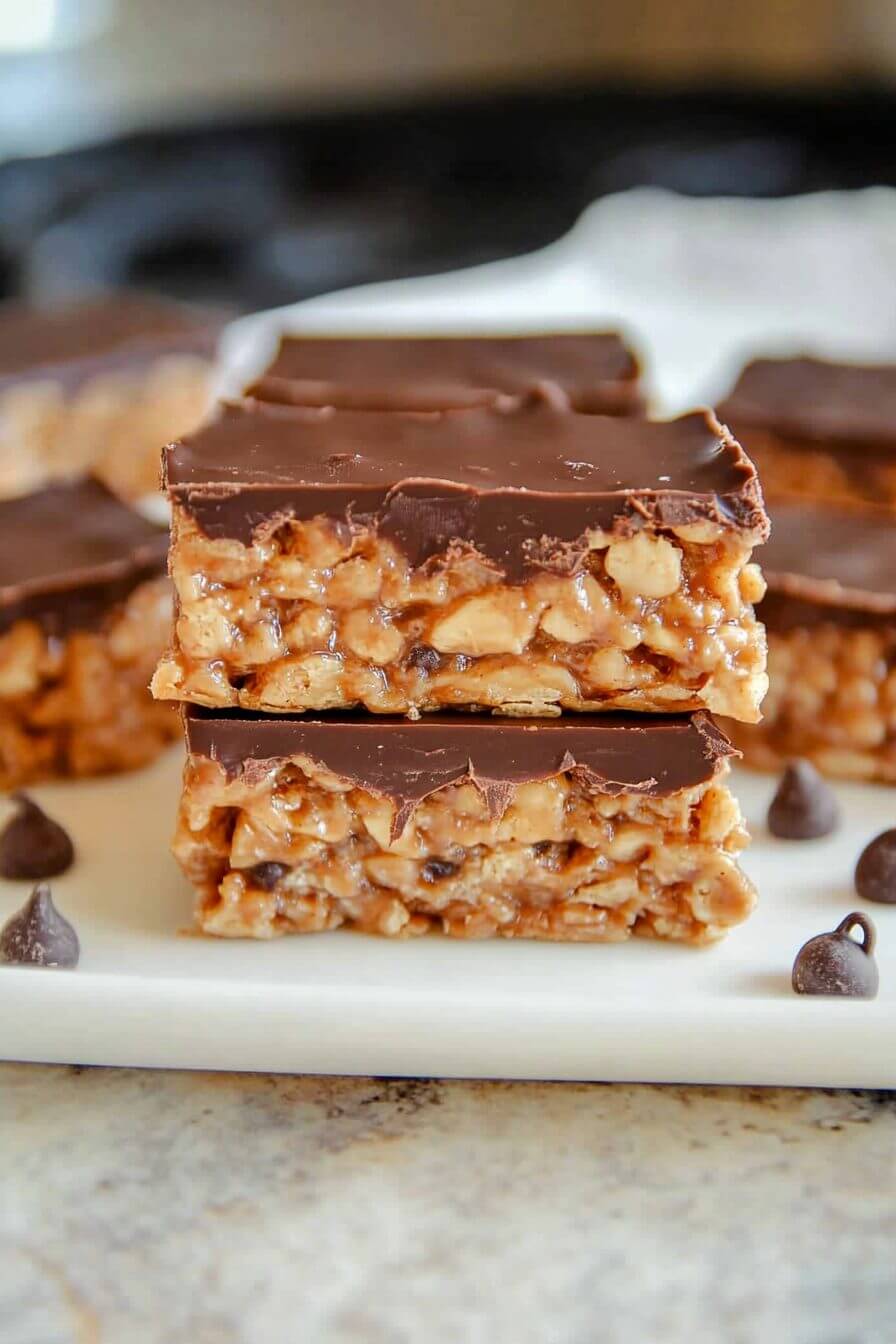
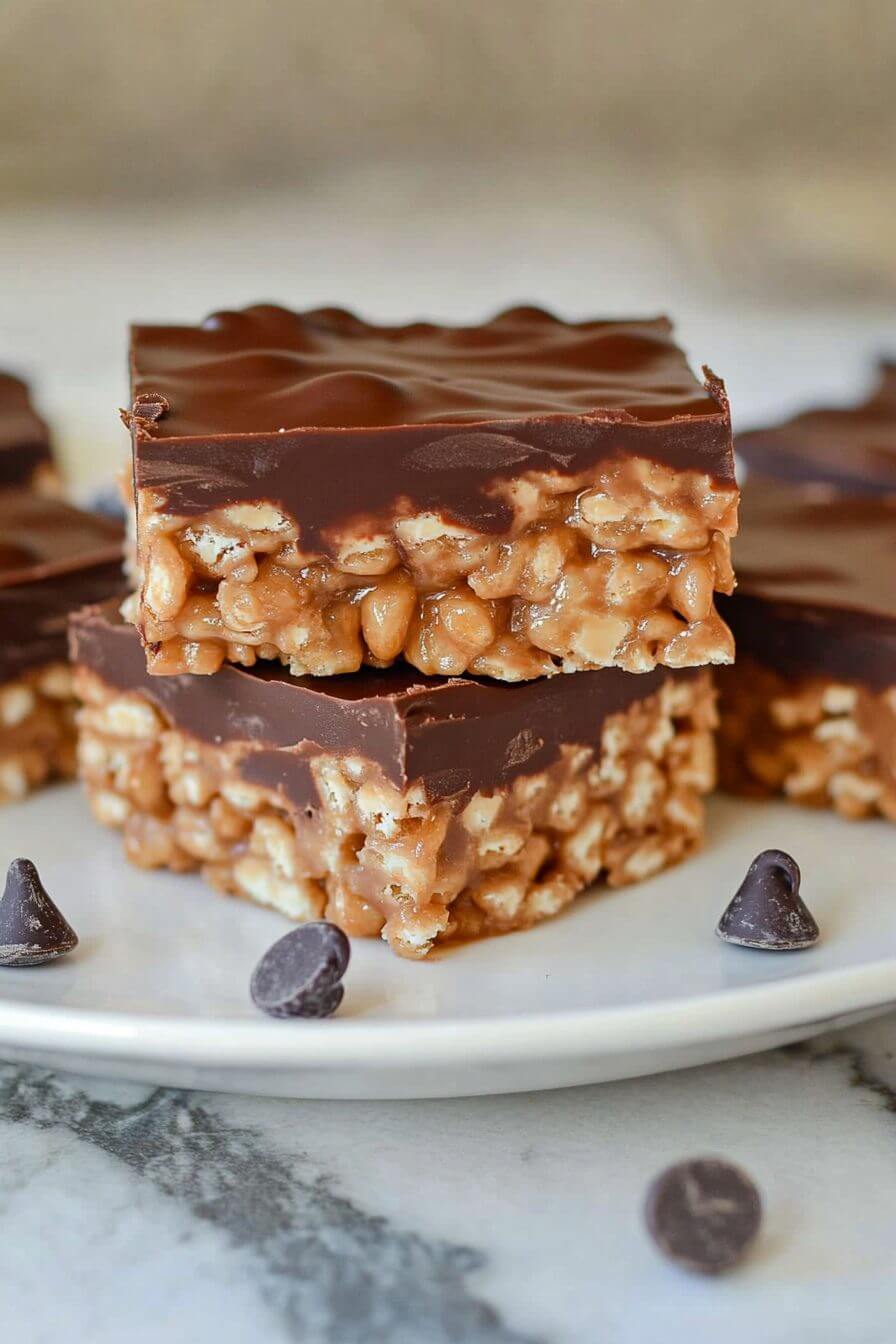
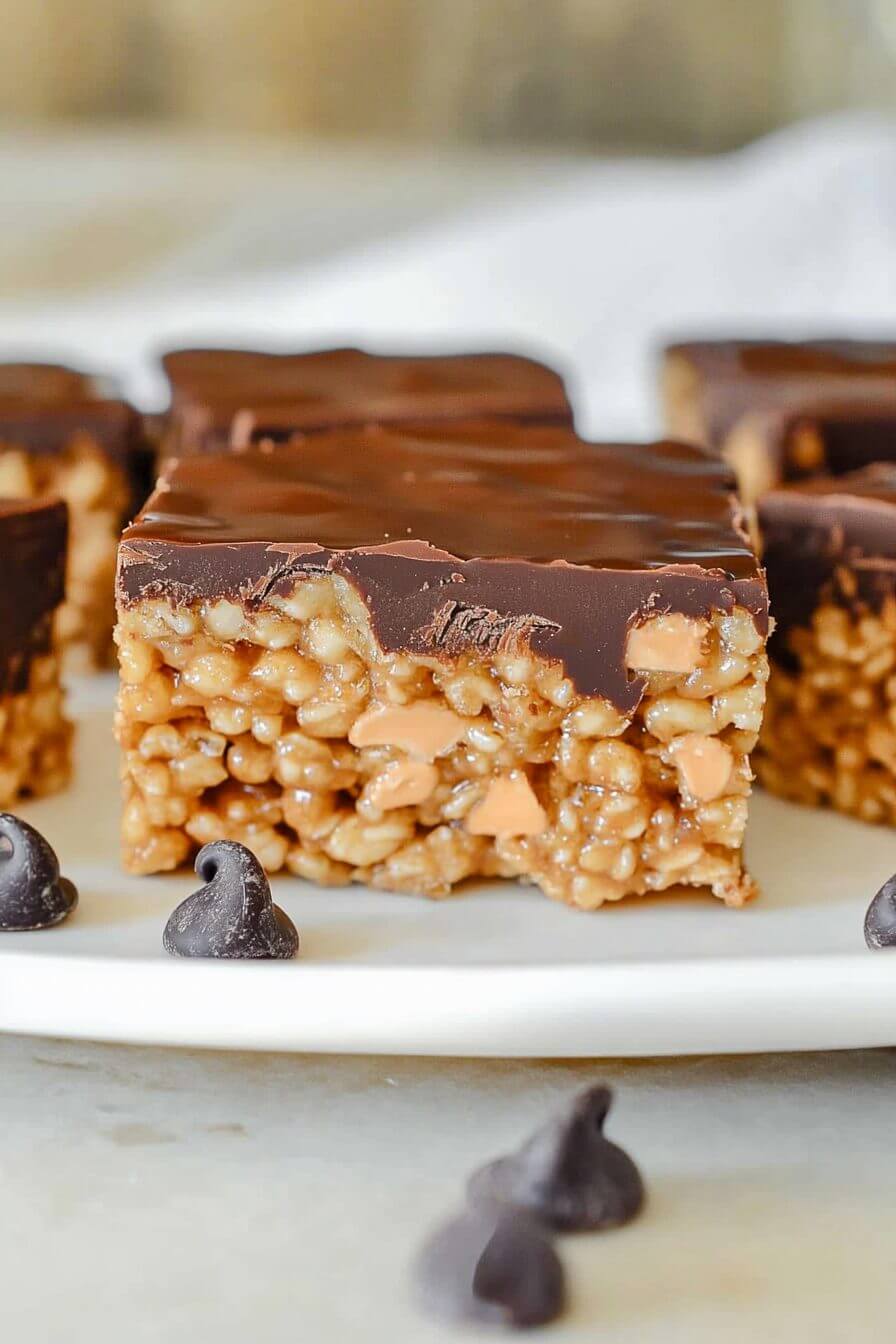
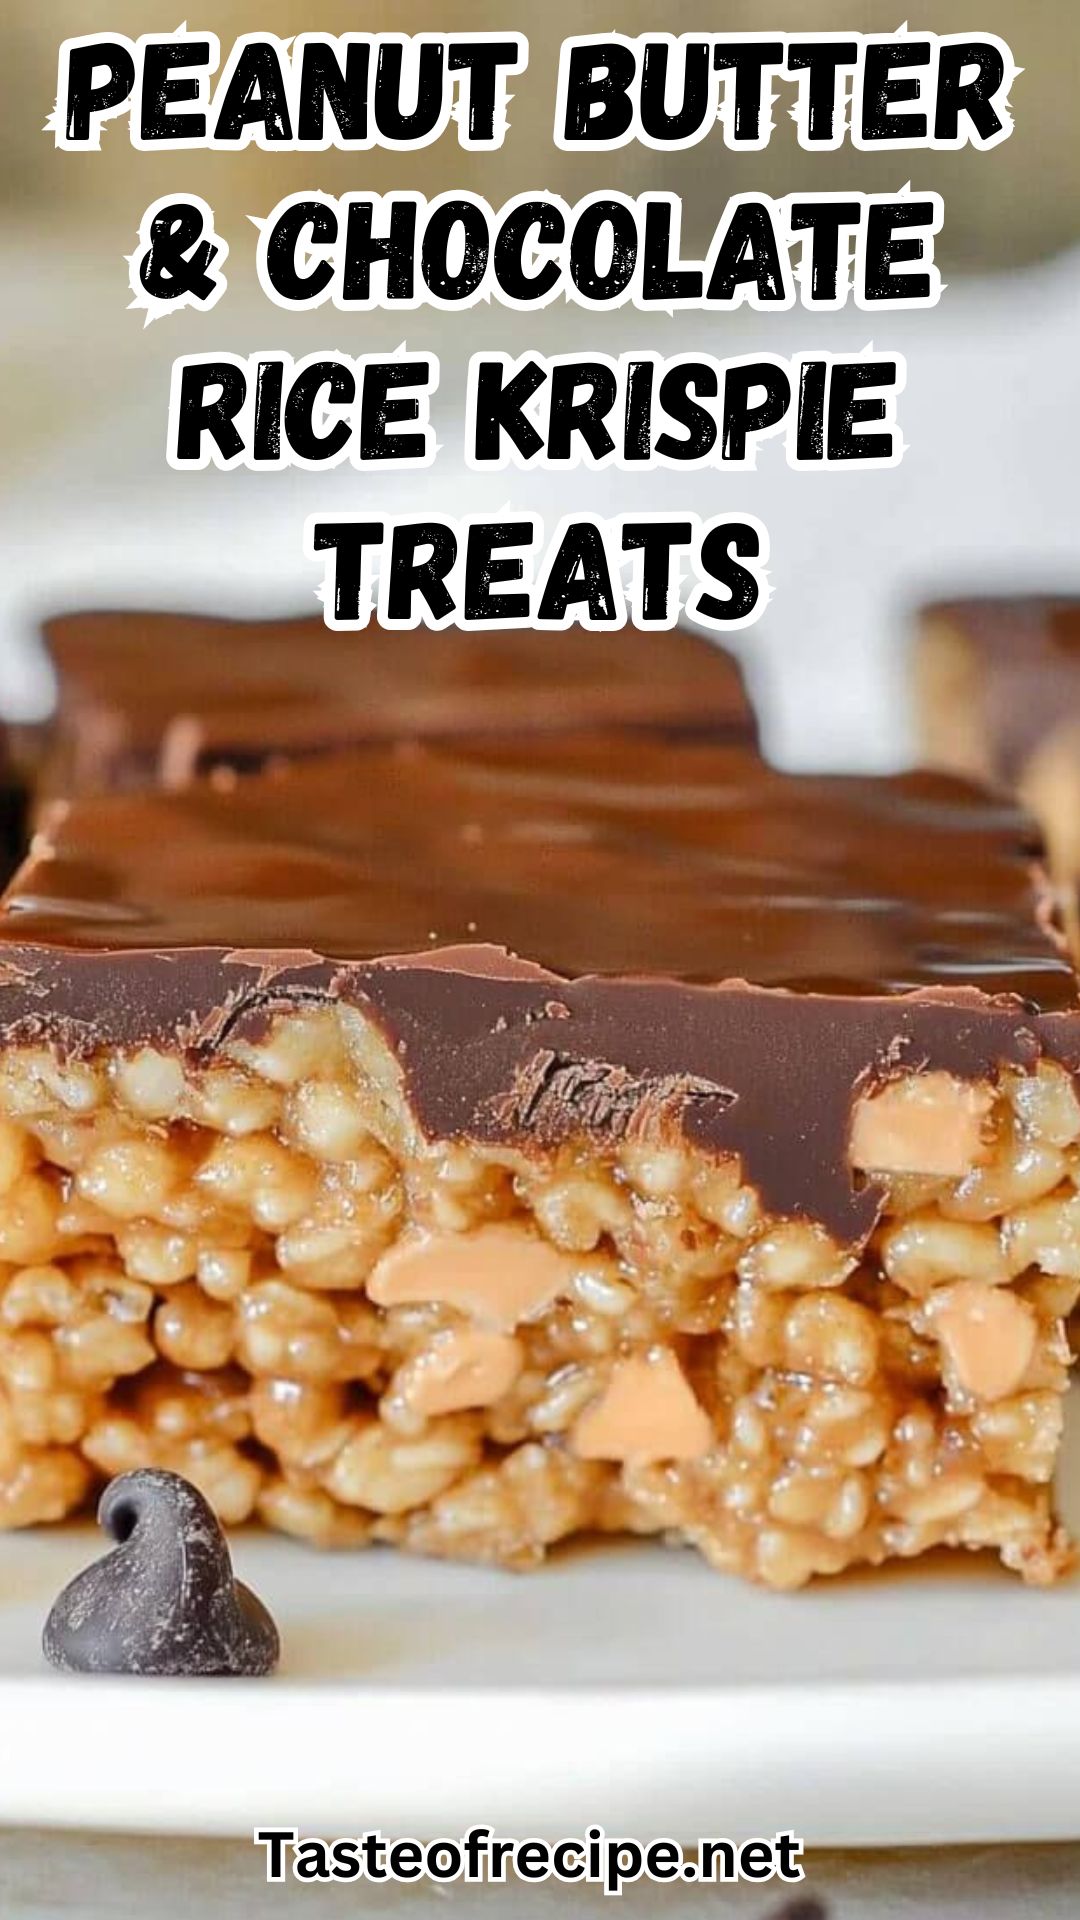
Now, let’s just say, my grown-up tastebuds crave a little more oomph. More peanut buttery richness. More chocolatey indulgence. Trust me, these Peanut Butter and Chocolate Rice Krispie Treats take the original and give it the ultimate comfort food glow-up! The base is pure nostalgia: gooey, marshmallow-y, and oh-so chewy. But now imagine that wrapped around bursts of creamy peanut butter cups, and topped with a thick, glossy layer of chocolate and peanut butter. Is it even legal for a treat to be this craveable? These always disappear at potlucks and book clubs…and, not gonna lie, sometimes straight from the fridge for a midnight snack!
Why You’ll Love This Recipe:
- Ultimate Comfort Food: All the classic feels—plus peanut butter and chocolate, need I say more?
- No-Bake Simplicity: No need to turn on the oven—just a little stovetop and microwave action. Great for summer days or busy schedules.
- Crowd-Pleaser Factor: Both adults and kids lose their minds over these. They look impressive on a party platter, but come together in a snap.
- Super Customizable: Feeling fancy? Throw in some salted peanuts. Want more chocolate? Add M&M’s. Go wild!
- That Dreamy Texture: You get chewy, crispy, creamy, and melty in every. single. bite.
Key Ingredients:
Butter: I usually grab unsalted, but use what you’ve got! This makes everything taste richer and helps with that perfect marshmallow melt. Just don’t skip greasing the pan—a nonstick trick that’ll save your sanity later.
Miniature Marshmallows: The classic! I like using mini because they melt super evenly. Stale, dried-out marshmallows = sad, lumpy treats. Grab a fresh bag for best results.
Rice Krispies Cereal: The star of the show! Feel free to swap in another puffed rice cereal if that’s what’s in your pantry, but the OG gives the most reliable crunch and shape.
Creamy Peanut Butter: Go for the classic, shelf-stable kind (I’m looking at you, Jif or Skippy). The natural stuff can separate and make things oily. Crunchy works if you’re feeling bold!
Mini Peanut Butter Cups: I use a whole bag of the tiny cups, but if all you have are full-size, chop ‘em up and toss them in. Reese’s Pieces or chopped peanut butter M&M’s could also work—don’t stress it.
Vanilla Extract: Just a little splash wakes up all the flavors. Don’t skip!
Semi-Sweet Chocolate Chips: For that glossy, fudge-like topping. You could use dark, milk, or even white chocolate if you prefer (or a combo!).
Complete list of ingredient quantities and full instructions are in the printable recipe card below
Step-by-Step Instructions:
Prepare Your Pan
Line a 9×9-inch (for thick and tall bars) or 9×13-inch (for a thinner batch, also great for parties) pan with foil or parchment. Leave a little extra hanging over the sides so you can lift them out later—trust me, this trick is a game changer! Grease it lightly with a little butter. Smearing a dab on with your fingers works just fine and prevents all that sticky chaos later.
Melt Butter and Marshmallows
Melt 5 tablespoons butter in a big pot over medium-low. Once it’s melted and dreamy, toss in your marshmallows. Stir constantly (this is not a multi-tasking moment!) until almost completely melted—smooth and stretchy, not chunky. You want soft and pillowy, not burnt or separated!
Add Peanut Butter and Vanilla
Remove from heat. Quickly stir in the peanut butter and vanilla. It’ll smell amazing and look like you want to lick the spoon. Go ahead, I won’t tell. You want everything smoothly combined before things start to set.
Mix in Rice Krispies and Peanut Butter Cups
Dump in the cereal. Stir and fold to coat every last piece—don’t fret about a few unmixed bits. Gently fold in those mini peanut butter cups. They’ll get a little melty and swirly, and that’s pure magic. It’s okay if they aren’t evenly distributed—you’ll get little peanut butter surprises in every bite.
Press into the Pan
Pour (it will be sticky!) into your prepared pan. Lightly press into an even layer, but don’t smash it down too hard. I like to butter my hands or use a sheet of wax paper—less mess, less fuss. Press just enough that everything sticks together, then leave it alone to stay chewy.
Chocolate-Peanut Butter Topping
In a microwave safe bowl, chunk in 1½ cups chocolate chips and another ¾ cup peanut butter. Microwave in 20–30 second bursts, stirring until smooth. Pour over your bars and smooth to the edges with a spatula. Quick tip: work fast—the topping sets quicker than you’d think! This part I have to fight the kids off with a spoon.
Let It Set & Slice
Let the whole pan sit at room temp (or speed things up in the fridge if you’re impatient like me) until the topping is firm. Use your foil “handles” to lift out the slab, then cut into squares as big or as dainty as you please. Taste test at least once—quality control, I insist. You’ll thank yourself for being patient (or, like me, steal a warm corner anyway… oops).
Serving Suggestions:
Classic Snack: Honestly, they’re perfect with a cold glass of milk or a hot mug of coffee. Kids will beg for lunchbox treats and grown-ups sneak ‘em with afternoon tea.
Party Showstopper: Cut them small for a dessert tray alongside brownies, lemon bars, or fudge. Everybody loves a bitesize chunk!
A Little Extra: Fancy them up! Drizzle with melted white chocolate, a handful of salty peanuts, or even a dusting of flaky sea salt before the chocolate topping sets. Instagram dreams come true, and I can’t resist uploading a quick pic before they vanish.
Storage and Make-Ahead Tips:
Countertop Friendly: Keep covered in an airtight container at room temp (if your house isn’t a sauna!) for up to five days. If you’re stacking, use parchment or wax paper so things don’t stick. Handy for grab-and-go, or for the late-night sweet tooth (guilty as charged).
Chilled and Thrilled: If your kitchen runs warm, pop ‘em in the fridge for a firmer bar. I kinda love the way a chilly bar snaps when you bite in—so satisfying!
Freezer Option: Wrap individual bars tightly in plastic wrap, then store in a zip-top bag or airtight box. They’ll keep for 2 months. Just thaw at room temp 10–15 minutes (or science-fair style: eat straight from the freezer if you’re my husband). Emergency treat stashes are totally allowed.
Variations to Try:
Go Nuts: Mix in a handful of chopped roasted peanuts or almonds with the cereal for extra crunch and salty goodness. A little salty crunch is never a bad idea.
Candy Cravings: Swap in half mini M&M’s, Reese’s Pieces, or chopped Snickers bars for the peanut butter cups if that’s what you’ve got (or, live a little, mix and match!). Makes every square a little surprise.
Chocolate Switch: Use dark, milk, or even white chocolate chips for the topping, or layer two types for extra wow. You could even swirl them together for a marbled effect that looks straight out of a bakery.
Extra Gooey: Fold in extra mini marshmallows just before pressing the mixture into the pan for soft, pillowy bites throughout. Because is there ever such a thing as too much marshmallow?
Sweet & Salty: Sprinkle flaky sea salt on top right before the chocolate sets—trust me, it’s a game changer. That pop of salt takes everything up a notch.
Conclusion:
There’s just something special about sharing a treat that takes you right back to childhood, but feels totally grown up too. These Peanut Butter and Chocolate Rice Krispie Treats are comfort food at its finest—soft and chewy, with rich, melty chocolate and that salty-sweet peanut butter swirl. I guarantee they’ll become a family favorite (and you’ll be everyone’s favorite snack-maker!). Whether you’re making a batch for the kids, your book club, or just to treat yourself on a rainy afternoon…I hope you love them as much as we do. If you try a twist, or have a favorite childhood snack, drop a note in the comments—I absolutely love seeing your creations and stories in my inbox!
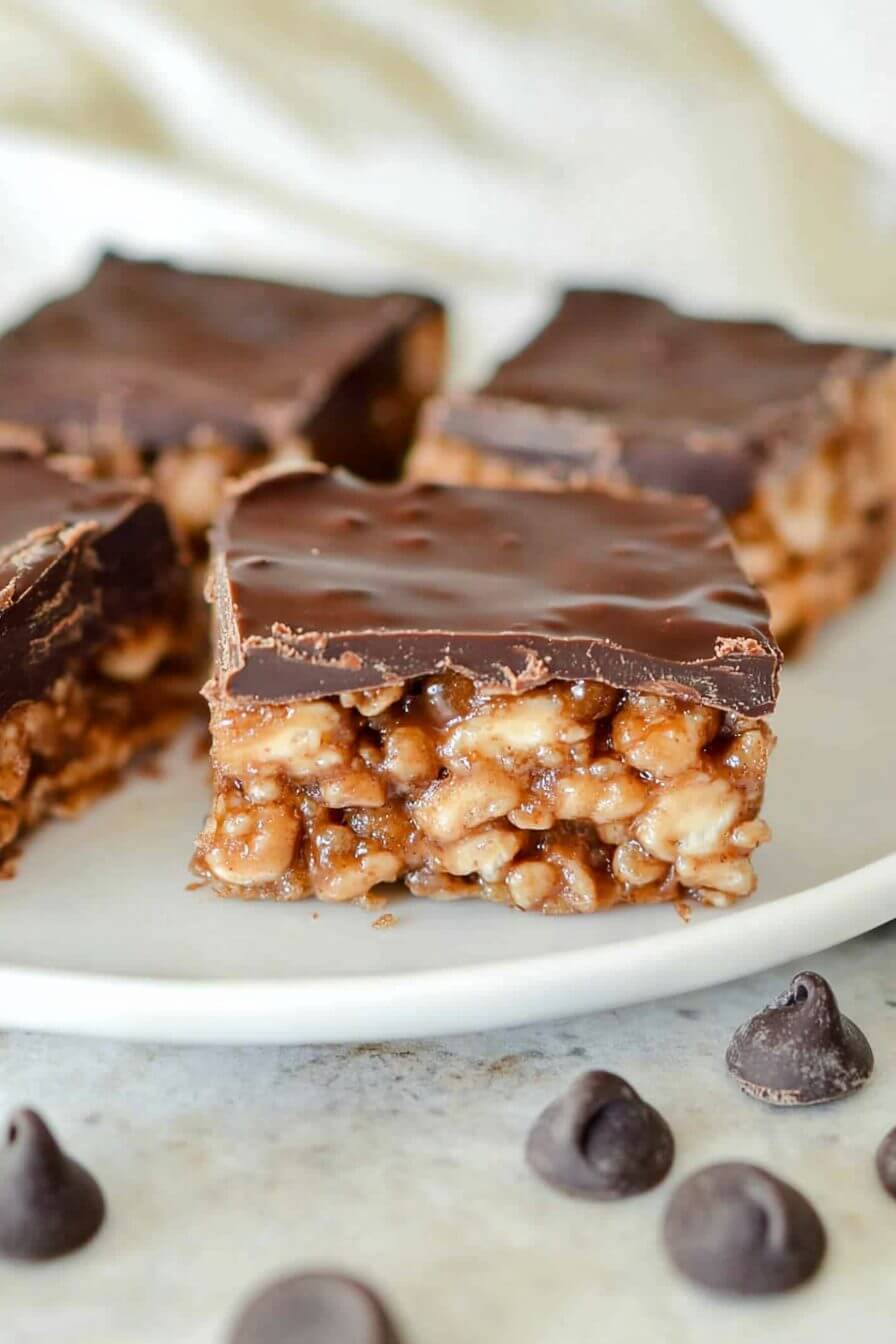
Peanut Butter and Chocolate Rice Krispie Treats: A Decadent Twist on a Classic Snack
Ingredients
- 6 tbsp butter divided
- 10 cups miniature marshmallows
- 6 cups Rice Krispies cereal
- 2/3 cup creamy peanut butter
- 1 tsp vanilla extract
- 8 oz mini peanut butter cups package
- 1 1/2 cups semi-sweet chocolate chips
- 3/4 cup creamy peanut butter for topping
Instructions
- Line a 9x9-inch or 9x13-inch pan with foil, leaving an overhang on the edges to create handles. Grease the foil with 1 tablespoon of butter.
- In a large pot, melt the remaining 5 tablespoons of butter over medium-low heat. Add marshmallows and stir continuously until they are almost completely melted. Remove the pot from heat.
- Stir in 2/3 cup of peanut butter and 1 teaspoon of vanilla extract until the mixture is smooth and well combined.
- Fold in the Rice Krispies cereal, making sure all the cereal is evenly coated with the marshmallow mixture. Gently mix in the mini peanut butter cups.
- Pour the mixture into the prepared pan. Press it gently into an even layer, being careful not to compact it too tightly.
- In a microwave-safe bowl, combine chocolate chips and 3/4 cup of peanut butter. Microwave in 20-30 second intervals, stirring after each, until the mixture is smooth and fully melted.
- Pour the melted chocolate mixture over the Rice Krispie layer. Use a spatula to spread it evenly across the top.
- Allow the treats to cool at room temperature or place them in the refrigerator until the chocolate topping is firm. Use the foil handles to lift the entire block out of the pan. Cut into squares and enjoy!

