Save This Recipe
Ever get that itch to bake, even when you’re absolutely swamped? I find there’s nothing quite like mixing a little flour and water and just letting the world slow down for a bit. It’s honestly my favorite form of “kitchen therapy.” There’s magic in those sticky strands and that first little foamy bloom from the yeast—suddenly, my kitchen feels every bit as inviting as one of those century-old bakeries you dream about visiting on a rainy day. If you ask me, it’s the easiest way to turn a regular Saturday into something memorable (plus, your house smells incredible).
If I were you, I’d set aside an afternoon—maybe pour yourself a mug of coffee, kick back with your favorite podcast, and just watch as the dough rises and does its thing. By the time you hit the end of an episode or two, the air is wafting with the smell of fresh bread and you might just fool yourself into thinking you live above a little café. Trust me, there is NO better feeling than slicing into a warm loaf with a crackly, golden crust and soft-as-a-cloud center. Fresh bread just has a way of making any old day a whole lot cozier.
Why You’ll Love It
First things first—this recipe is not one of those ten-step, need-every-gadget-in-your-cupboard sorts. It’s straightforward, forgiving, and packed with rich, craveable flavor. No drama and no fancy equipment. Just easy, honest bread.
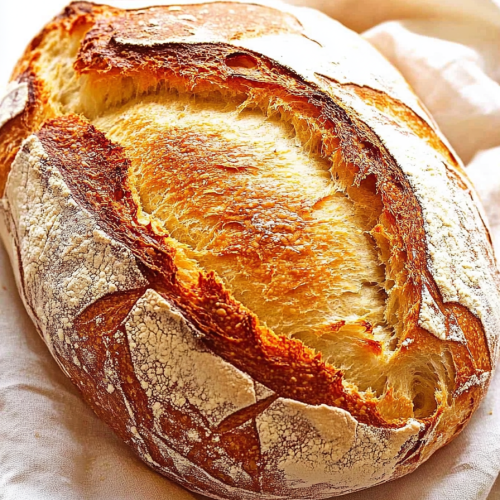
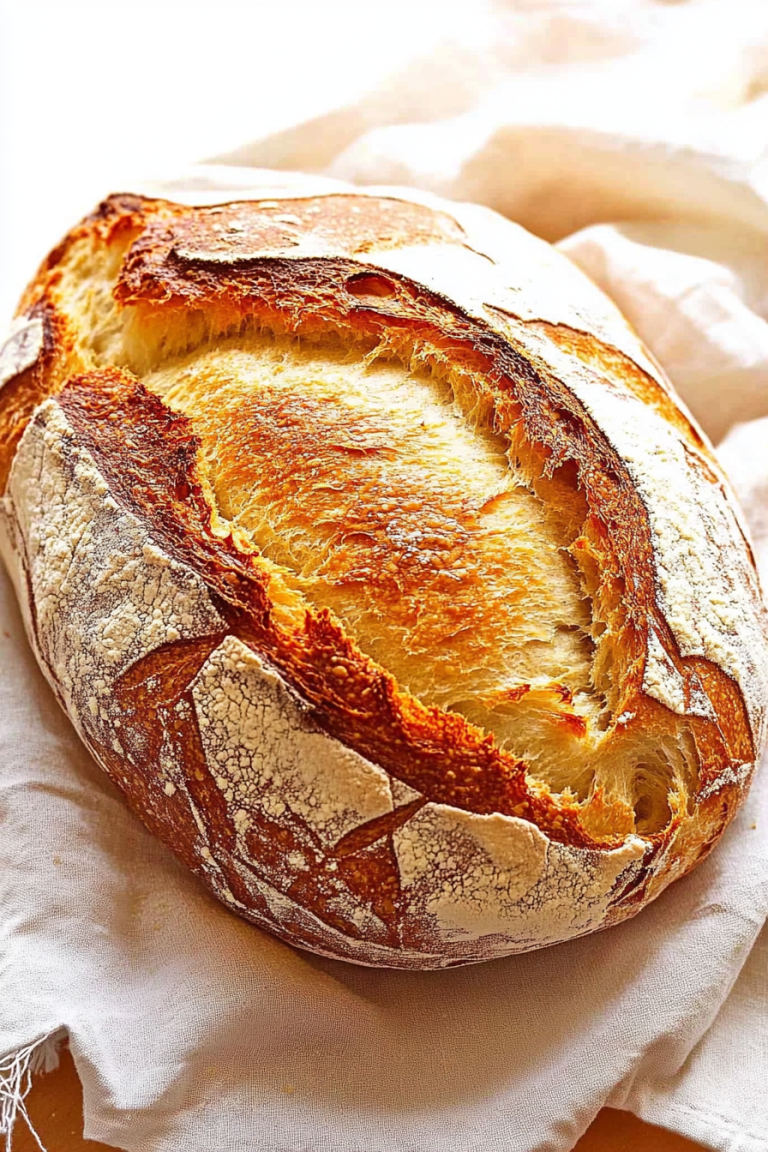
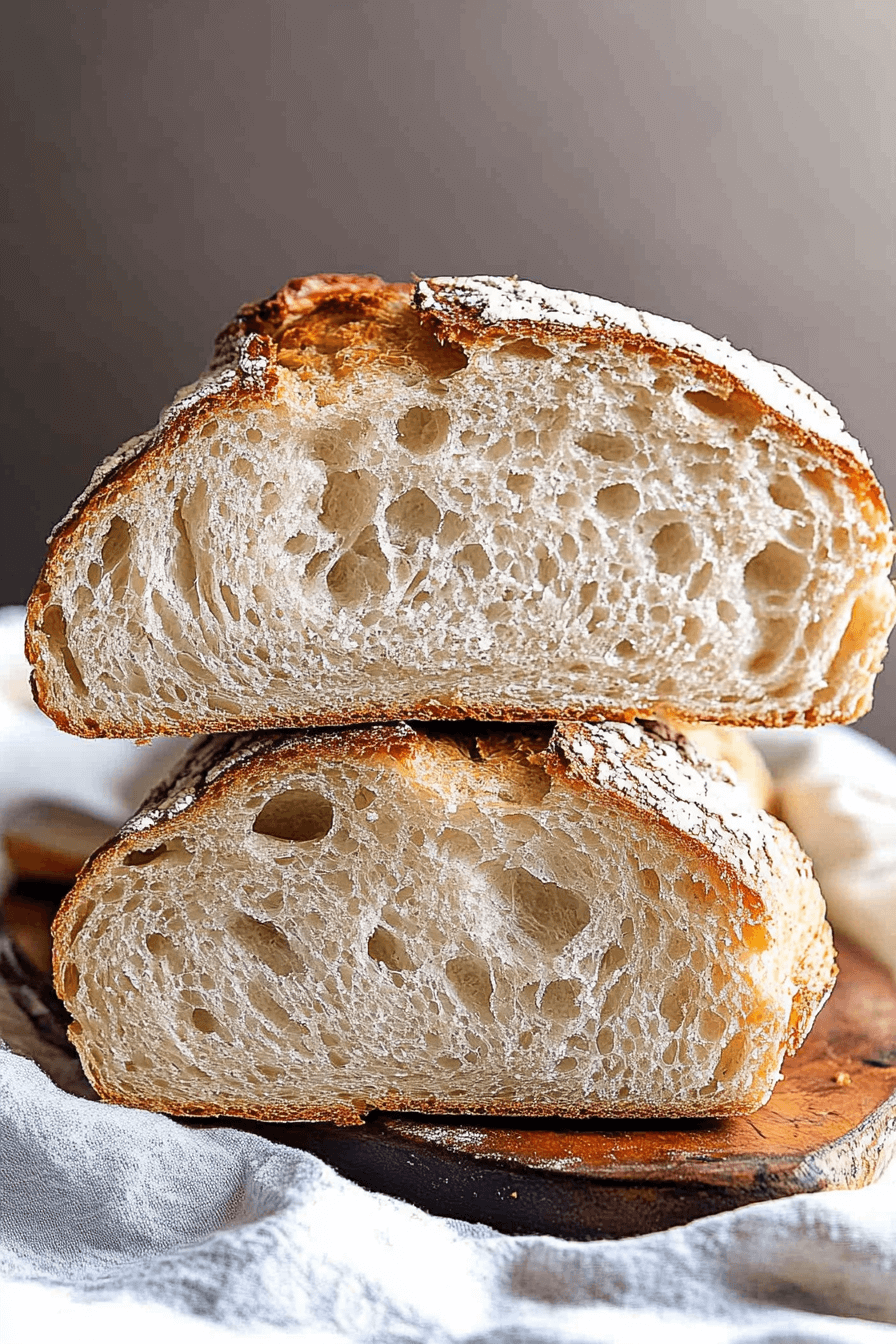
- That crust! Snap-worthy and golden, but still gives you a nice, pillowy crumb inside.
- Deep, wheaty notes—perfect with a bowl of soup, a little cheese plate, or just (my fave) warm with butter and jam.
- You only need five basic ingredients—bet you already have most of them at home.
But what really gets me every time is the scent—the kind that drifts from the kitchen and makes everything feel a bit like a Sunday morning with family. It’s nostalgia you can eat, basically.
Timing and Servings
This is a “plan ahead but you don’t have to babysit it” kind of bake. Start to finish, you’re looking at about 2½ to 3 hours. Don’t worry—most of that is your dough doing all the work while you do, well, absolutely anything else (or nothing at all, no judgment here!).
- Prep: 15 minutes
- Rising: 1½ – 2 hours (and you can totally multitask during this)
- Baking: 30–40 minutes
This makes one hearty, generous loaf—enough for a family dinner or toast all week. If you’ve got four to six people around, you might want to double it. Bread this good disappears fast (don’t say I didn’t warn you!).
Ingredients
- 350 ml room-temperature water
- 1 tablespoon sugar
- 8 g (about one packet) dry yeast (regular or instant are both fine!)
- 25 ml sunflower oil (or olive oil—if you want a bit of fruity flavor)
- 500 g all-purpose flour (plus extra for dusting—it’s absolutely fine to eyeball this part)
If you’re missing something, don’t panic. Swap the sunflower oil for canola or even light olive oil. You can use bread flour for a chewier bite. And if you want a little more nuttiness, swap a cup of your flour for whole wheat. This is a “whatever’s in the pantry” kind of bread, so don’t feel stuck if you’re running low on something!
Directions
- Wake up the yeast: In a large bowl, stir together the water, sugar, and yeast. Cover it with a towel and let it sit for 5 minutes until it looks foamy—a little cloud in your bowl (my favorite part!).
- Add oil and flour: Pour in the sunflower oil, then gradually sift (or dump, I won’t tell) the flour into the liquid. Stir with a wooden spoon or your hands until you’ve got a shaggy dough. It’ll be sticky, and that’s exactly what you want.
- First rise: Cover the bowl and place it somewhere warm. Let it rise for about 1 hour, until it’s puffed up and doubled in size. (My secret? Leave it on top of the fridge, where it’s just a touch warmer!)
- Punch down and rest: Gently press down on the dough to release those big, bubbly air pockets. Cover it up again and let it rest another 30 minutes—it’ll get even happier and stretchier.
- Shape it: Sprinkle your countertop with flour (I like to go a little wild here). Pat or roll the dough into a rectangle, fold it over itself like a letter, cover with a bowl, and let it nap for 10 more minutes.
- Score and bake: Now, gently shape it into a loaf or boule (round)—truly, whatever shape makes you happy. Place it on a parchment-lined sheet, then use a sharp knife to slash the top a few times. (Not just pretty—it helps the loaf rise higher in the oven.) Bake at 230°C (446°F) for 30–40 minutes, until it’s a deep golden brown and sounds hollow when you tap it.
- Cool down a bit: Transfer to a wire rack, and—this is important—resist slicing for at least 20 minutes. The crumb is still setting! Just breathe in that wonderful bread smell and know it’s nearly time.
If your kitchen is chilly, pop the dough into the oven with just the light on—not the heat. Warmth helps wake up that yeast. And remember, sticky dough makes a softer crumb, so don’t stress if you feel like you’re wrestling it a bit. It’s all part of the homey experience!
Variations
Once you nail the basics, you’re free to riff as much as you want (and I highly encourage a little kitchen play):
- Half-Whole-Wheat: Swap out 250g of the flour for whole wheat. The loaf turns out a little heartier and pairs so well with veggie soup.
- Seeded Crunch: Stir in 50g mixed seeds (pumpkin, flax, sunflower—whatever you’ve got) at the mixing step. Press a few more on top for bakery vibes.
- Herb-Kissed: Add a teaspoon of dried rosemary, thyme, or caraway to your flour. Can you imagine the aroma?
The dough is forgiving, so don’t be shy—add olives, chopped nuts, dried fruit, or even a sprinkle of everything bagel seasoning if you’re feeling wild! I’ve even tossed in a handful of shredded cheese once or twice (no regrets there, let me tell you).
Storage & Reheating Tips
Day-of: I usually just toss the loaf in a paper bag or wrap in a clean tea towel right on the counter. It’ll stay nice for 2 to 3 days. (Try to resist the urge to stash it in the fridge—bread dries out much faster in there!)
Freezing: Want to save some for later? Slice the whole loaf first, then wrap slices tightly in plastic or beeswax wrap and pop them in a freezer bag. They’ll keep for up to 2 months. When you’re ready, let them thaw at room temp, then toss in a 180°C (350°F) oven for about 10 minutes. It’s like fresh-baked bread all over again—crust and all!
FAQs
Can I use instant yeast?
Definitely! You can skip the 5-minute foaming step and just stir the instant yeast right into your dry ingredients, then mix with the wet. Easy.
My dough is super sticky. Should I add more flour?
Sticky dough means a delicious, moist interior (yay!). Dust your hands and counter with extra flour if you need to, but try not to add too much into the mix itself. Too much flour = tough bread, and nobody wants that.
What if my kitchen is cold?
If your dough needs a little warmth, try the light-in-the-oven trick or put the bowl near a cozy spot (like by a window in the sun). Sometimes, I even set it on a heating pad turned to low—it works wonders in winter!
Conclusion
Homemade rustic German bread isn’t just about the recipe—it’s a little kitchen ritual I turn to whenever I need comfort or want to make the everyday feel special. It’s cozy, honest, and I swear, it comes out looking impressive even if you have zero bread skills. So go ahead, flour up your countertop, and let your house smell amazing. And hey, if you try this recipe (or come up with your own twist), I’d absolutely love to hear about it in the comments—I read every single one. Happy baking, friends! May your bread always have a little extra rise and your days feel just a bit homier.

Rustic German Bread
Ingredients
- 350 ml water room temperature
- 1 tablespoon sugar
- 8 grams dry yeast
- 25 ml sunflower oil
- 500 grams flour plus extra for dusting
Instructions
- In a large bowl, pour 350 ml of water, add 1 tablespoon of sugar and 8 grams of dry yeast. Stir until dissolved, cover, and let sit for 5 minutes until frothy.
- Add 25 ml of sunflower oil to the yeast mixture. Gradually sift in 500 grams of flour, stirring to combine.
- Mix until a sticky dough forms. Cover and let rise in a warm area for 1 hour, or until doubled in size.
- Stir the dough to release air, cover, and let rest for another 30 minutes to develop gluten.
- Lightly flour a surface, roll dough into a rectangle, fold, and let rest for 10 minutes. Shape into a loaf, boule, or rolls.
- Place dough on a lined baking tray. Make decorative slashes with a knife. Preheat oven to 230°C (446°F) and bake for 30-40 minutes until golden brown.
- Remove from oven, cool on a wire rack, and enjoy warm or at room temperature.


