Save This Recipe
You know that moment when you realize you’ve promised dessert, and suddenly your freezer is barren and your last-minute grocery run feels more like a sprint than a stroll?
I’ve been there. Many times. Once, I swear it was 5:30 p.m. and I was standing in my kitchen blinking at an empty mixing bowl like it had personally betrayed me. I’d said, out loud, to actual people, “Oh, I’ll make pie.” Meanwhile, the pie dough I meant to make earlier was still just a good intention floating around my head. No butter chilling. No dough in the fridge. No plan—just vibes and panic.
For years, I convinced myself that a good, golden crust required a whole production: cold butter cut into perfect little bits, flour everywhere, the rolling pin that’s somehow always missing, and a long chill in the fridge (or freezer) while everyone asked, “Is dessert ready yet?”
It started to feel like a chore instead of a treat.
And then I found this press-in pie crust. No rolling. No chilling. No tears. You mix it in a bowl, press it right into the pan with your fingers, and bake. Somehow, it still turns out tender, crisp, and—yes—flaky in that “how did you do that so fast?” kind of way.
If you’re a busy home cook, a beginner baker, or just someone who wants pie without the personality test of traditional pastry, keep reading. This crust is the friend who shows up on time with coffee.
Why You’ll Love This Crust (Let me count the ways)
-
Fast from start to finish. Mix, press, bake. That’s the whole storyline.
-
No rolling pin needed. Just your hands (and maybe a spoon).
-
No chilling required. Which feels almost suspicious, but it works.
-
Tender with a little lift. Baking powder gives it a gentle puff so it doesn’t bake up dense.
-
Flexible for sweet or savory. Berry pie? Quiche? Tomato tart? It can handle it.
-
Beginner-friendly. If you can press Play on a podcast, you can press dough into a pie plate.
And I’ll say this gently: it’s also wonderful for those times you’ve got a lot going on—work stuff, school stuff, life stuff—and you still want something homemade on the table. This crust has that “I made an effort” energy without requiring an afternoon.
Timing and Servings
Time: About 10 minutes to mix and press, plus whatever bake time your filling needs.
Makes: One 9-inch crust.
Serves: Usually 6–8 slices… unless your people cut “farm slices” (you know the ones).
If you’re baking a pie with a long bake (like fruit), the crust cooks right along with the filling. For custard pies, you’ll usually par-bake it first. I’ll walk you through both.
Ingredients
Press-In Pie Crust (9-inch)
-
2 cups all-purpose flour
-
½ teaspoon salt
-
¼ teaspoon baking powder
-
½ cup neutral oil (vegetable, canola, avocado oil, or a light olive oil)
-
3 tablespoons cold water (plus more by the teaspoon if needed)
That’s it. No butter. No shortening. No mystery.
Ingredient Notes (and easy swaps that won’t ruin your day)
Flour: Regular all-purpose flour is perfect. I usually have King Arthur in the pantry, but honestly, whatever you’ve got is fine.
Salt: Don’t skip it, even for sweet pies. Salt makes flour taste like something.
Baking powder: This is the little secret. It gives the crust a gentle lift—tiny air pockets—so it reads as light and crisp, not like a thick cracker.
Oil: Use a neutral oil for the most “classic” crust flavor. Canola and vegetable oil are easy. Avocado oil works nicely too. Light olive oil is fine if it’s mild. (If it smells very olive-y, your crust will taste like olives. Which is great for a savory tart, less so for apple pie.)
Water: Cold water helps the dough come together without feeling greasy. Add it slowly. You can always add more, but you can’t take it back.
Pie plate: Glass, ceramic, metal—any of them work. I use a basic glass Pyrex pie plate most of the time because it’s sturdy and I can see how the crust is browning.
How to Make a Press-In Pie Crust (No rolling pin, no drama)
1) Prep the pan
Lightly grease a 9-inch pie plate with nonstick spray or a thin smear of oil. Not a thick layer—just enough so the crust releases easily.
2) Mix the dry ingredients
In a medium or large bowl, whisk together:
-
flour
-
salt
-
baking powder
Whisking sounds fussy, but it takes ten seconds and spreads everything evenly. Worth it.
3) Add the oil
Pour in the oil and stir until the mixture looks like coarse sand. Little clumps are normal. Those clumps bake into tender pockets, and we like that.
If you’re using a spoon, stir firmly. If you’re using your hands, rub it together gently like you’re making a crumb topping. (And if you’re thinking, “Is this allowed?” yes, it’s allowed.)
4) Add cold water a little at a time
Drizzle in 3 tablespoons cold water, stirring gently.
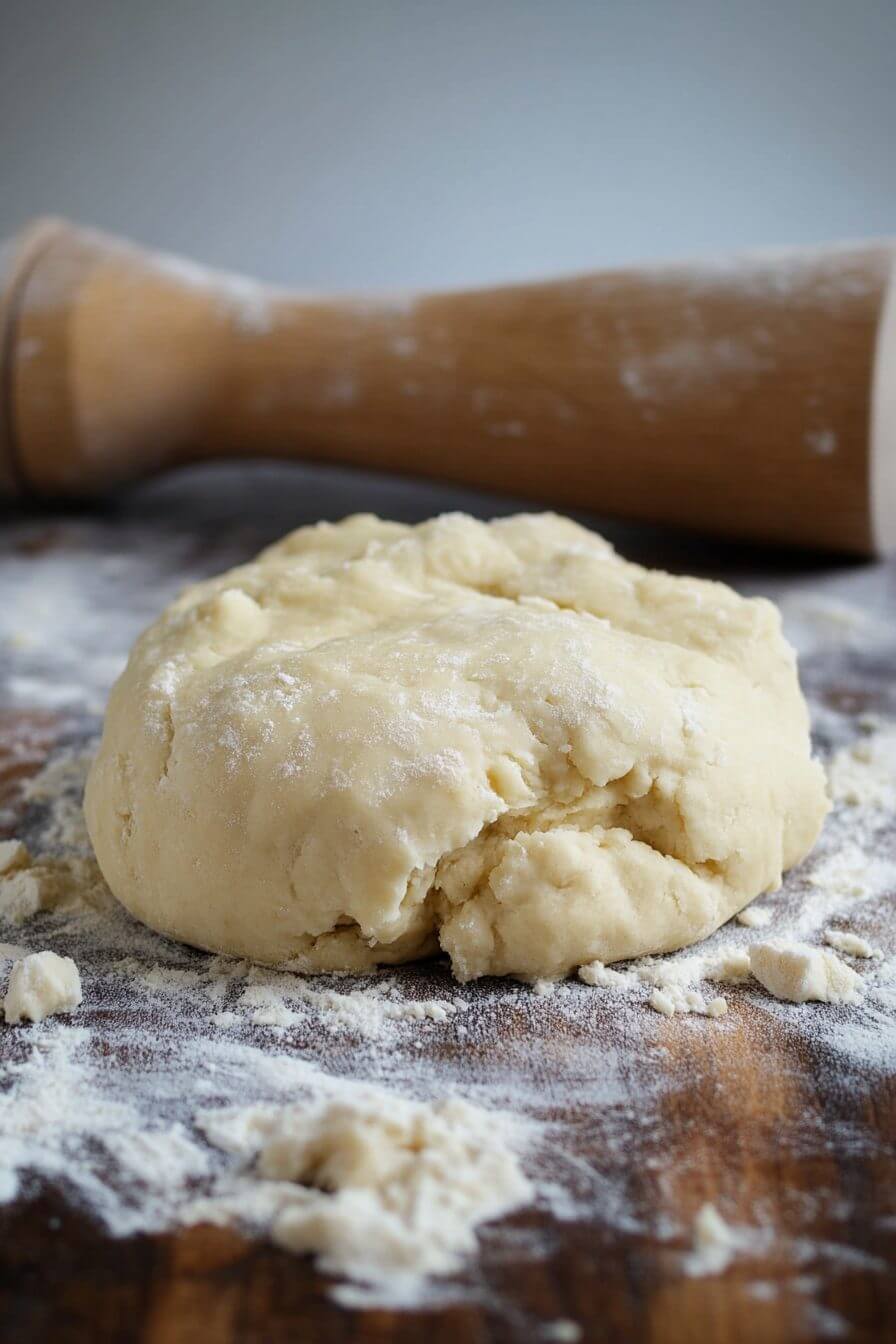
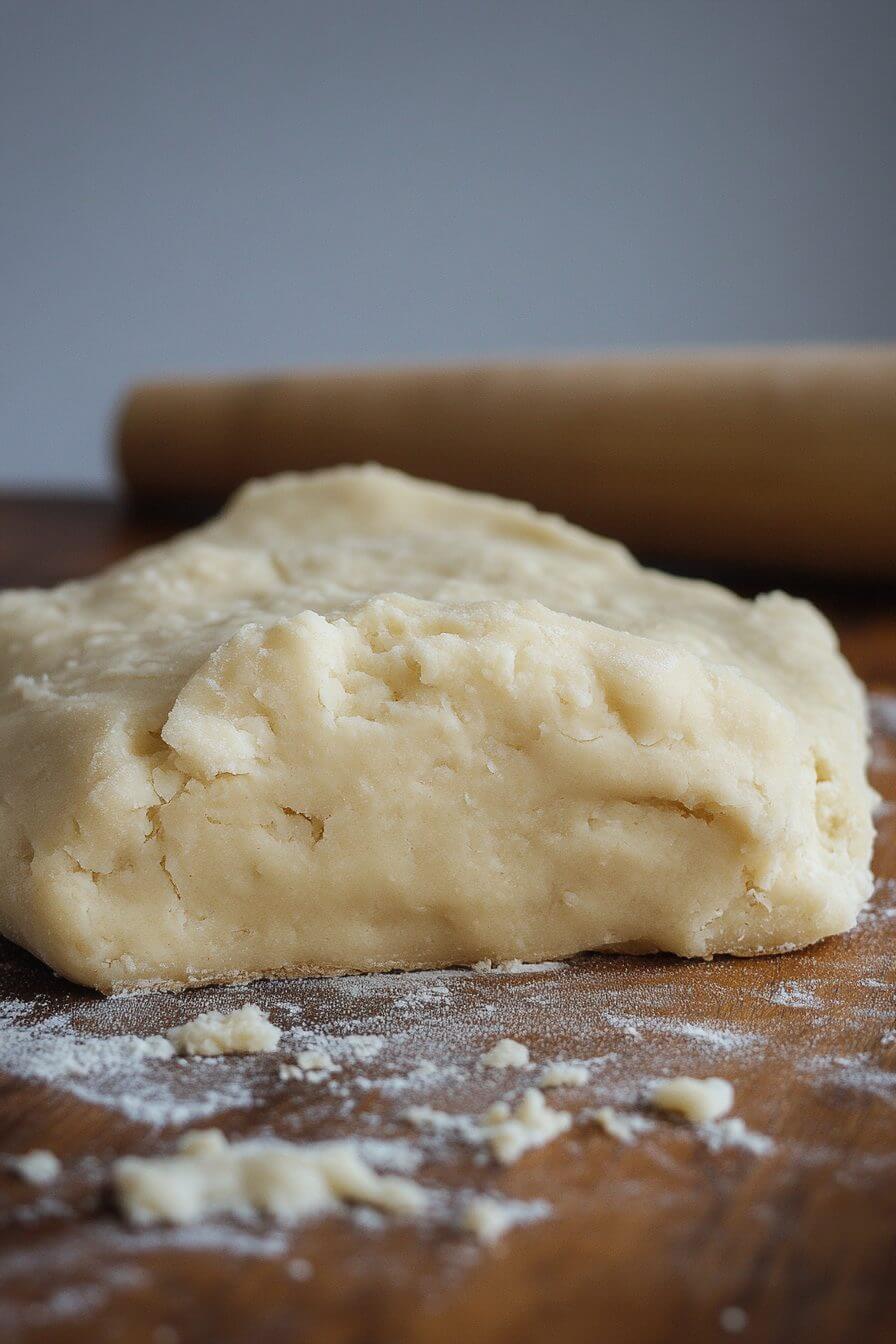
The dough should start to come together into a soft, cohesive ball. If it still feels dry and crumbly, add one teaspoon of water at a time until it holds together. You want it cohesive, not sticky.
A quick feel test:
-
If it crumbles apart when you squeeze it, it needs a touch more water.
-
If it feels like glue and sticks to your fingers, you went a little too far—sprinkle in a teaspoon of flour and mix again.
5) Press it into the pie plate
Transfer the dough to your pie plate and press it evenly across the bottom, then up the sides.
I like to start in the center and work outward. Rotate the pie plate as you press so you don’t end up with one thick side and one thin side. (We’ve all done it. It’s okay. Just patch it.)
If the dough tears or looks uneven, press a little piece of dough over the gap like you’re spackling a wall. That sounds odd, but it’s true.
6) Finish the edge
You can crimp the edge by pinching with your fingers, or just press around the rim with a fork. Fork edges feel charmingly “homey” to me—like a pie that’s meant to be eaten, not photographed for an hour.
Baking Instructions (depends on your filling)
If you’re baking a fruit pie
Fruit pies usually bake long enough that the crust cooks through with the filling.
-
Bake at 375°F for 45–55 minutes (or follow your pie recipe).
-
If the edge browns too quickly, tent it with foil.
Little tip: If you keep a cheap pie shield in your drawer, this is its moment. If you don’t, foil works just fine.
If you’re making a quiche or custard pie (par-bake first)
For custard fillings, it helps to par-bake so the bottom stays crisp.
-
Preheat oven to 350°F.
-
Prick the bottom of the crust a few times with a fork.
-
Bake for 10–12 minutes until it looks set and just barely golden.
-
Cool a few minutes, then add filling and bake as your recipe directs.
Do you need pie weights?
Usually, no. This crust doesn’t slump the same way a butter crust can. If you’re nervous, line with parchment and add dried beans, but I rarely bother.
Variations (because one crust should do more than one job)
This crust is like that one good black sweater—you can dress it up or down and it still works.
1) Herbed savory crust
Add 1 teaspoon dried herbs to the flour (thyme, rosemary, Italian seasoning).
Perfect for quiche, tomato pie, or a leftover-veg tart when you’re cleaning out the fridge.
2) Cinnamon-sugar sweet crust
Add:
-
1 tablespoon sugar
-
½ teaspoon cinnamon
This is especially nice for apple, pumpkin, sweet potato, or pear pies. It gives the crust a warm little bakery vibe.
3) Nutty crunch
Fold in ¼ cup finely chopped pecans or almonds.
It adds texture and makes the crust feel “special occasion” with almost no extra effort.
4) Whole wheat swap
Replace 1 cup of the flour with whole wheat flour.
It’ll be a little heartier and nuttier. Still tender, just more “rustic.” (And yes, rustic is a polite way of saying it looks like real life.)
5) Cheesy savory crust
Add ½ cup finely shredded cheddar or parmesan to the dry ingredients.
This is wonderful for quiche or pot pies and tastes like you meant to do something fancy.
Storage & Reheating Tips (because life loves leftovers)
Make-ahead dough
Wrap the unpressed dough tightly and refrigerate up to 48 hours.
Let it sit at room temp about 10 minutes before pressing, so it’s easier to work with.
Freeze a pressed crust
Press the dough into the pie plate, then wrap tightly with plastic wrap and foil. Freeze up to 3 months.
When you’re ready:
-
Thaw about 30 minutes
-
Fill and bake
Reheating leftover pie slices
Warm a slice in a 300°F oven for 8–10 minutes to bring back that crisp edge.
Microwave works in a pinch, but you’ll lose some crunch. (Sometimes speed wins. I get it.)
FAQs (and the honest answers)
Can I use butter instead of oil?
You can, but it changes the whole point. Butter crust needs cold butter, cutting in, and usually chilling. This recipe is for the nights you want pie without a full pastry production.
If you’re in a butter mood and have time, go for a classic crust. But when you’re tired? Oil is your friend.
Do I have to par-bake it?
For custard pies and cream pies, yes—at least a short par-bake helps the bottom stay crisp. For fruit pies, usually no.
Can I make it gluten-free?
Yes, with a 1:1 gluten-free flour blend. Expect it to be a little more fragile and crumbly. Handle gently, and you may need an extra tablespoon of water.
Why baking powder?
It gives the crust a little lift. Instead of relying on cold butter to create layers, baking powder helps create tiny air pockets so the crust bakes up tender and light.
Quick troubleshooting (because sometimes dough has opinions)
“My dough is too crumbly.”
Add water one teaspoon at a time. It should hold together when pressed.
“My crust tastes bland.”
A little more salt helps. Also, if you used a very mild cheese or a very neutral filling, adding a spice variation (like cinnamon sugar) can brighten it.
“The bottom isn’t crisp.”
Par-bake for custard pies, and use the lower rack in the oven. Also, glass or metal pie plates tend to brown the bottom nicely.
“The sides look thick.”
Press a little more dough into the bottom and smooth the sides thinner with your fingertips. No one will call the Pie Police, I promise.
A warm little goodbye (and a tiny nudge)
If you’ve ever wanted to make pie but felt like the crust was the bossiest part of the whole situation, this is your reset. This press-in crust is fast, forgiving, and honestly kind of calming to make—because you’re not wrestling dough across the counter while flour floats through the air like a dramatic snowstorm.
Next time you’ve promised dessert and time is not on your side, grab a bowl, press this dough into your pie plate, and keep going. You’ll end up with a golden crust that tastes like you spent way more time than you did—and that’s a small kind of kitchen magic I’ll take any day.
If you try it, tell me what you filled it with. Did you go sweet? Savory? Did you add cinnamon? Herbs? And be honest—did you press it in with your fingers while sneaking a bite of chocolate chips? I feel like I already know the answer.

No Fuss Pie Crust
Ingredients
- 2 cups all-purpose flour
- 1/2 cup oil vegetable, canola, or olive oil
- 3 tablespoons cold water
- 1/4 teaspoon baking powder
- 1/2 teaspoon salt
Instructions
- Lightly grease a 9-inch pie dish with nonstick spray to prevent sticking. Set the dish aside.
- In a large mixing bowl, whisk together 2 cups of all-purpose flour, 1/2 teaspoon of salt, and 1/4 teaspoon of baking powder. This ensures even distribution of ingredients.
- Add 1/2 cup of oil and 3 tablespoons of cold water to the flour mixture. Stir gently to combine, forming a dough that is easy to work with.
- Mix until the ingredients form a cohesive dough. Shape into a ball that holds together when gently squeezed.
- Press the dough ball into the prepared pie dish, spreading it evenly along the bottom and up the sides. Crimp the edges as desired.
- Add your chosen filling to the crust and follow the baking instructions for your specific filling recipe, as times and temperatures vary.


